Flying Fruits
Well, the first part of our Corona replacement shooting went quite well. The shooting of the colored screw nuts from the first part of this blog series was a lot of fun and we were able to get cool results with very little effort. And that even without expensive equipment.
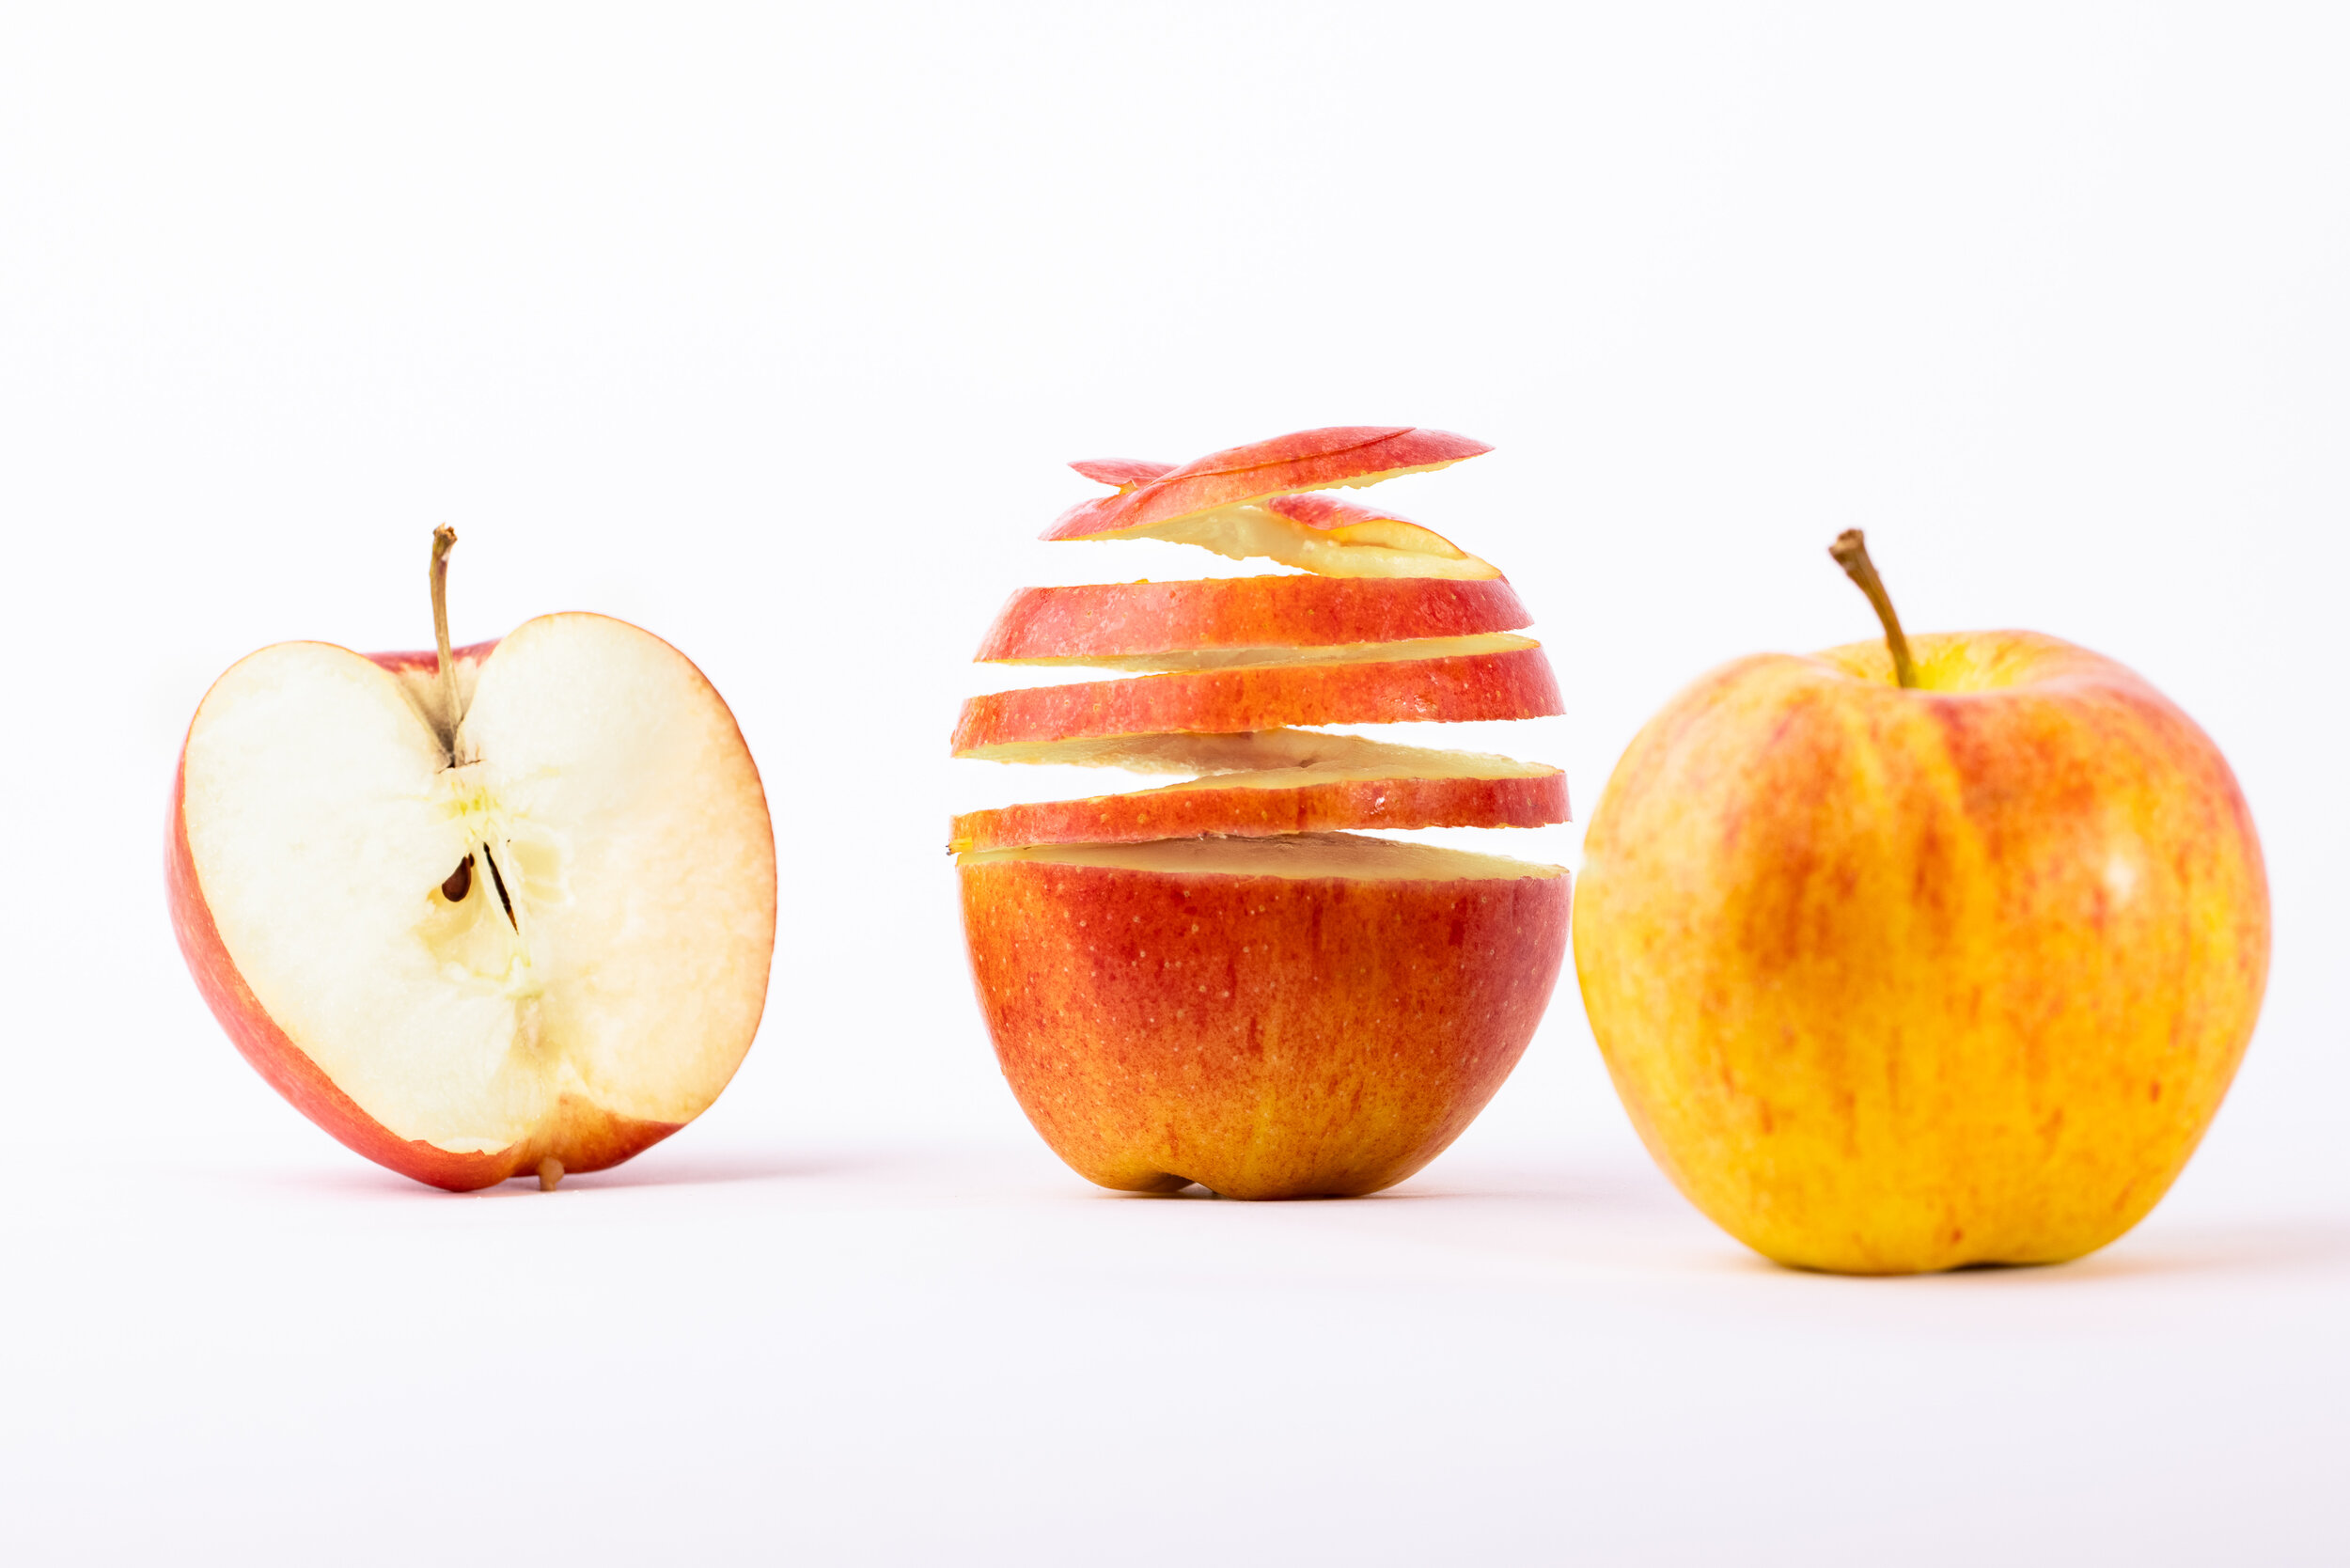
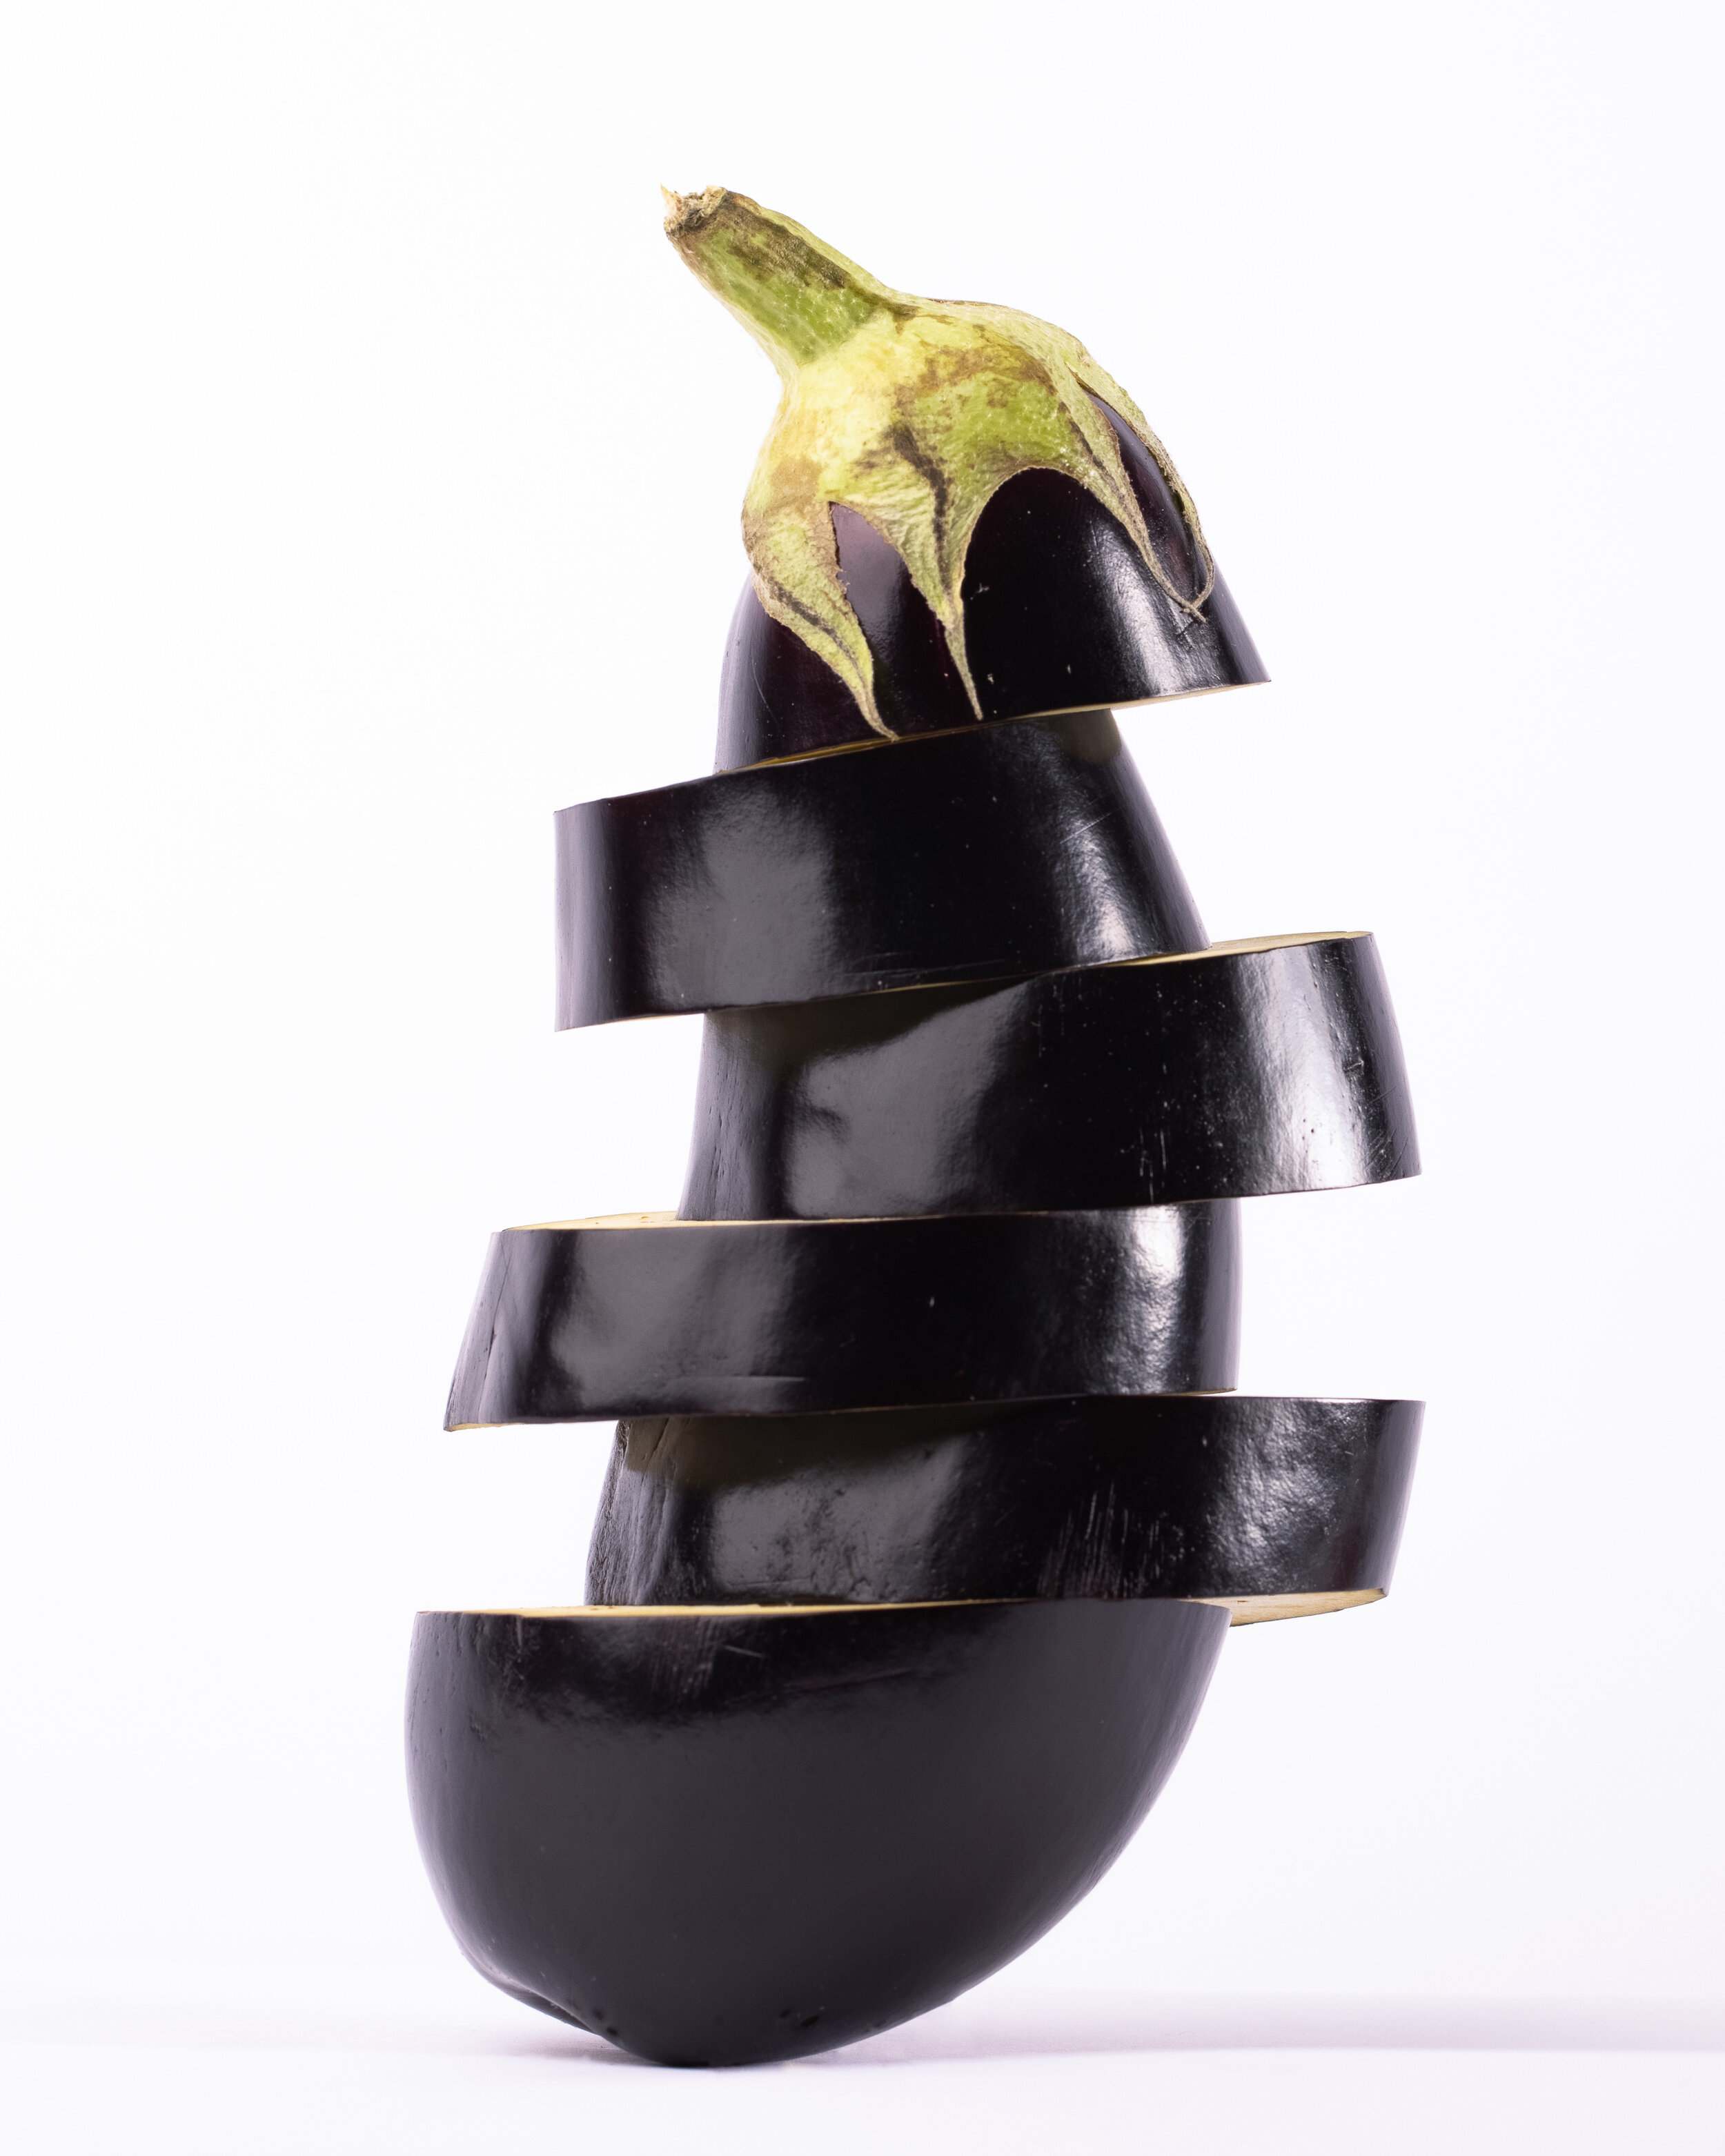
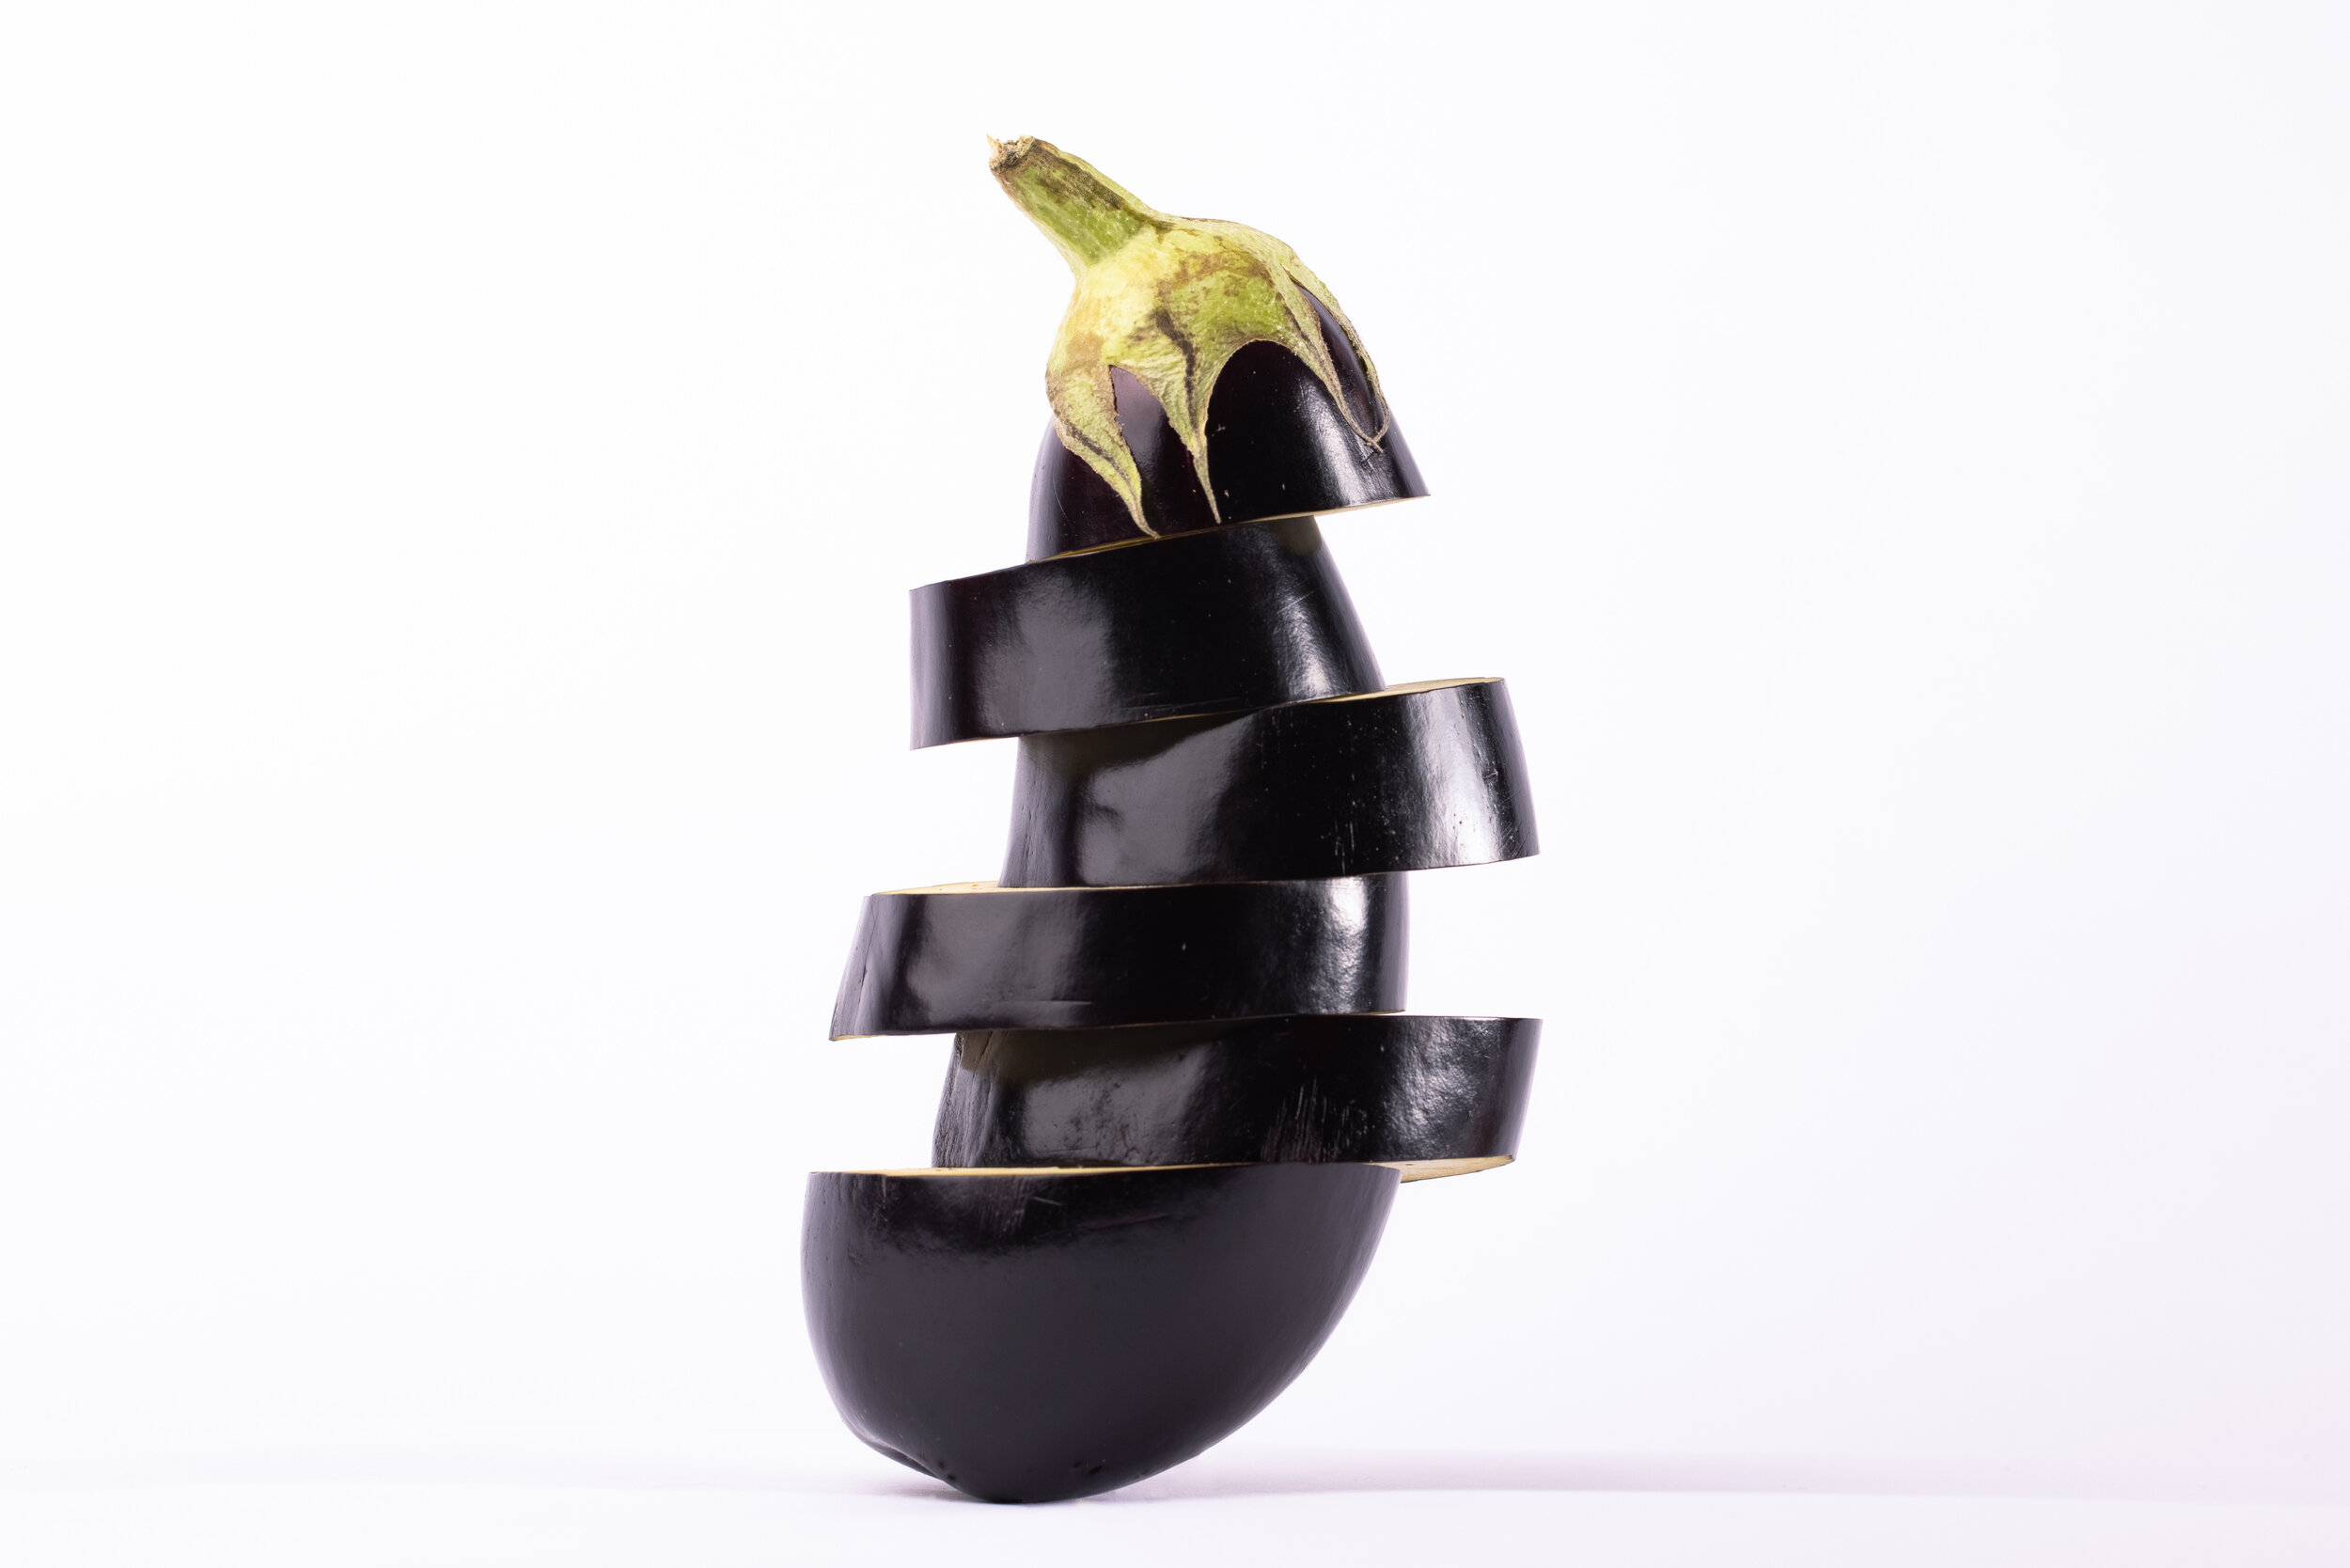
But now we want to add one more to make even cooler photos. As a second project we decided to do flying food photography, more precisely flying fruits photography. I have seen this kind of photography on social media a lot lately. It fascinated me and I thought that this could be done without much effort at home. This was partly true, but it turned out to be a way bigger challenge than I thought it was.
As a setup we had two boxes, which raised the work surface on the table a little bit. Between the two boxes we placed a Styrofoam box, for this we used my old DJI Phantom packaging. And last but not least we used the white background paper to have as little distraction as possible in the background as well as on the working surface. Because the paper is bent through, there are no hard edges and no shadows.
This time we decided to use studio flashes to light the scene. In principle this would also be possible with Speedlite flashes, but the big softboxes were already prepared with the studio flashes. We decided to use a big 90cm softbox to create the softest possible light. From the other side we decided to use a beauty dish, because we did not have a second big softbox at hand. So we placed the two light sources from left and right.

Light Setup Flying Fruits Shooting
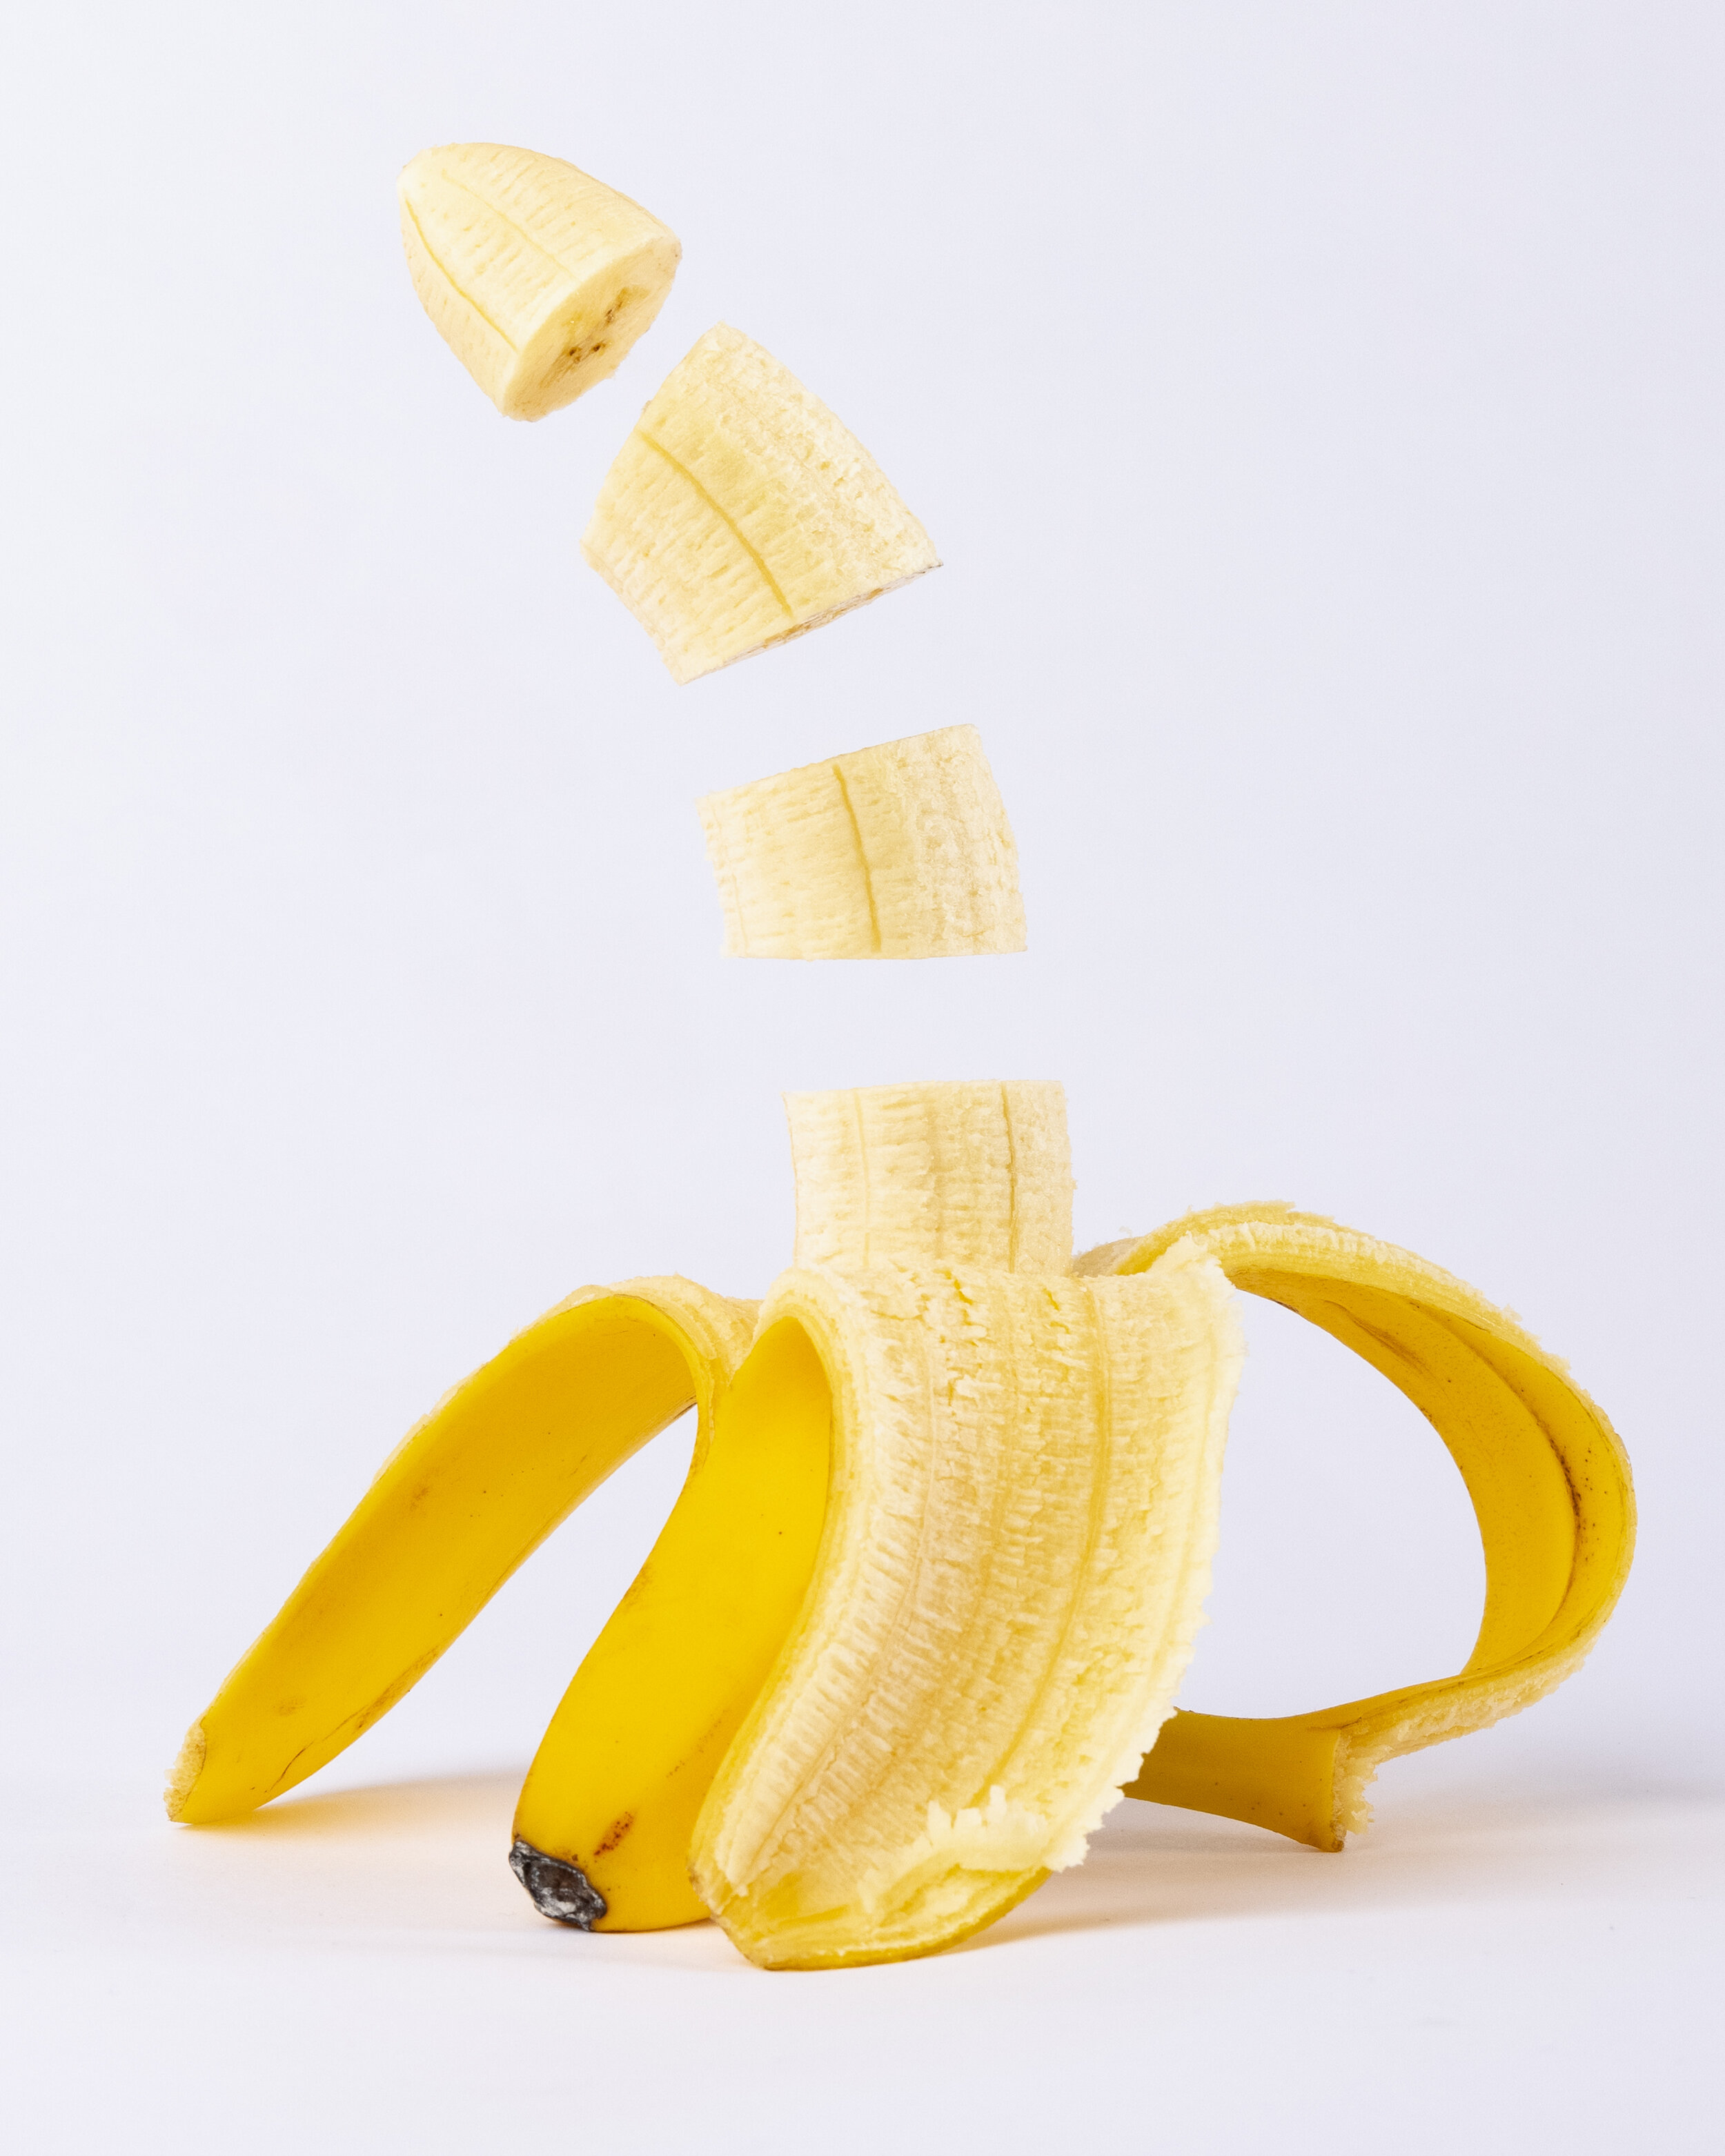
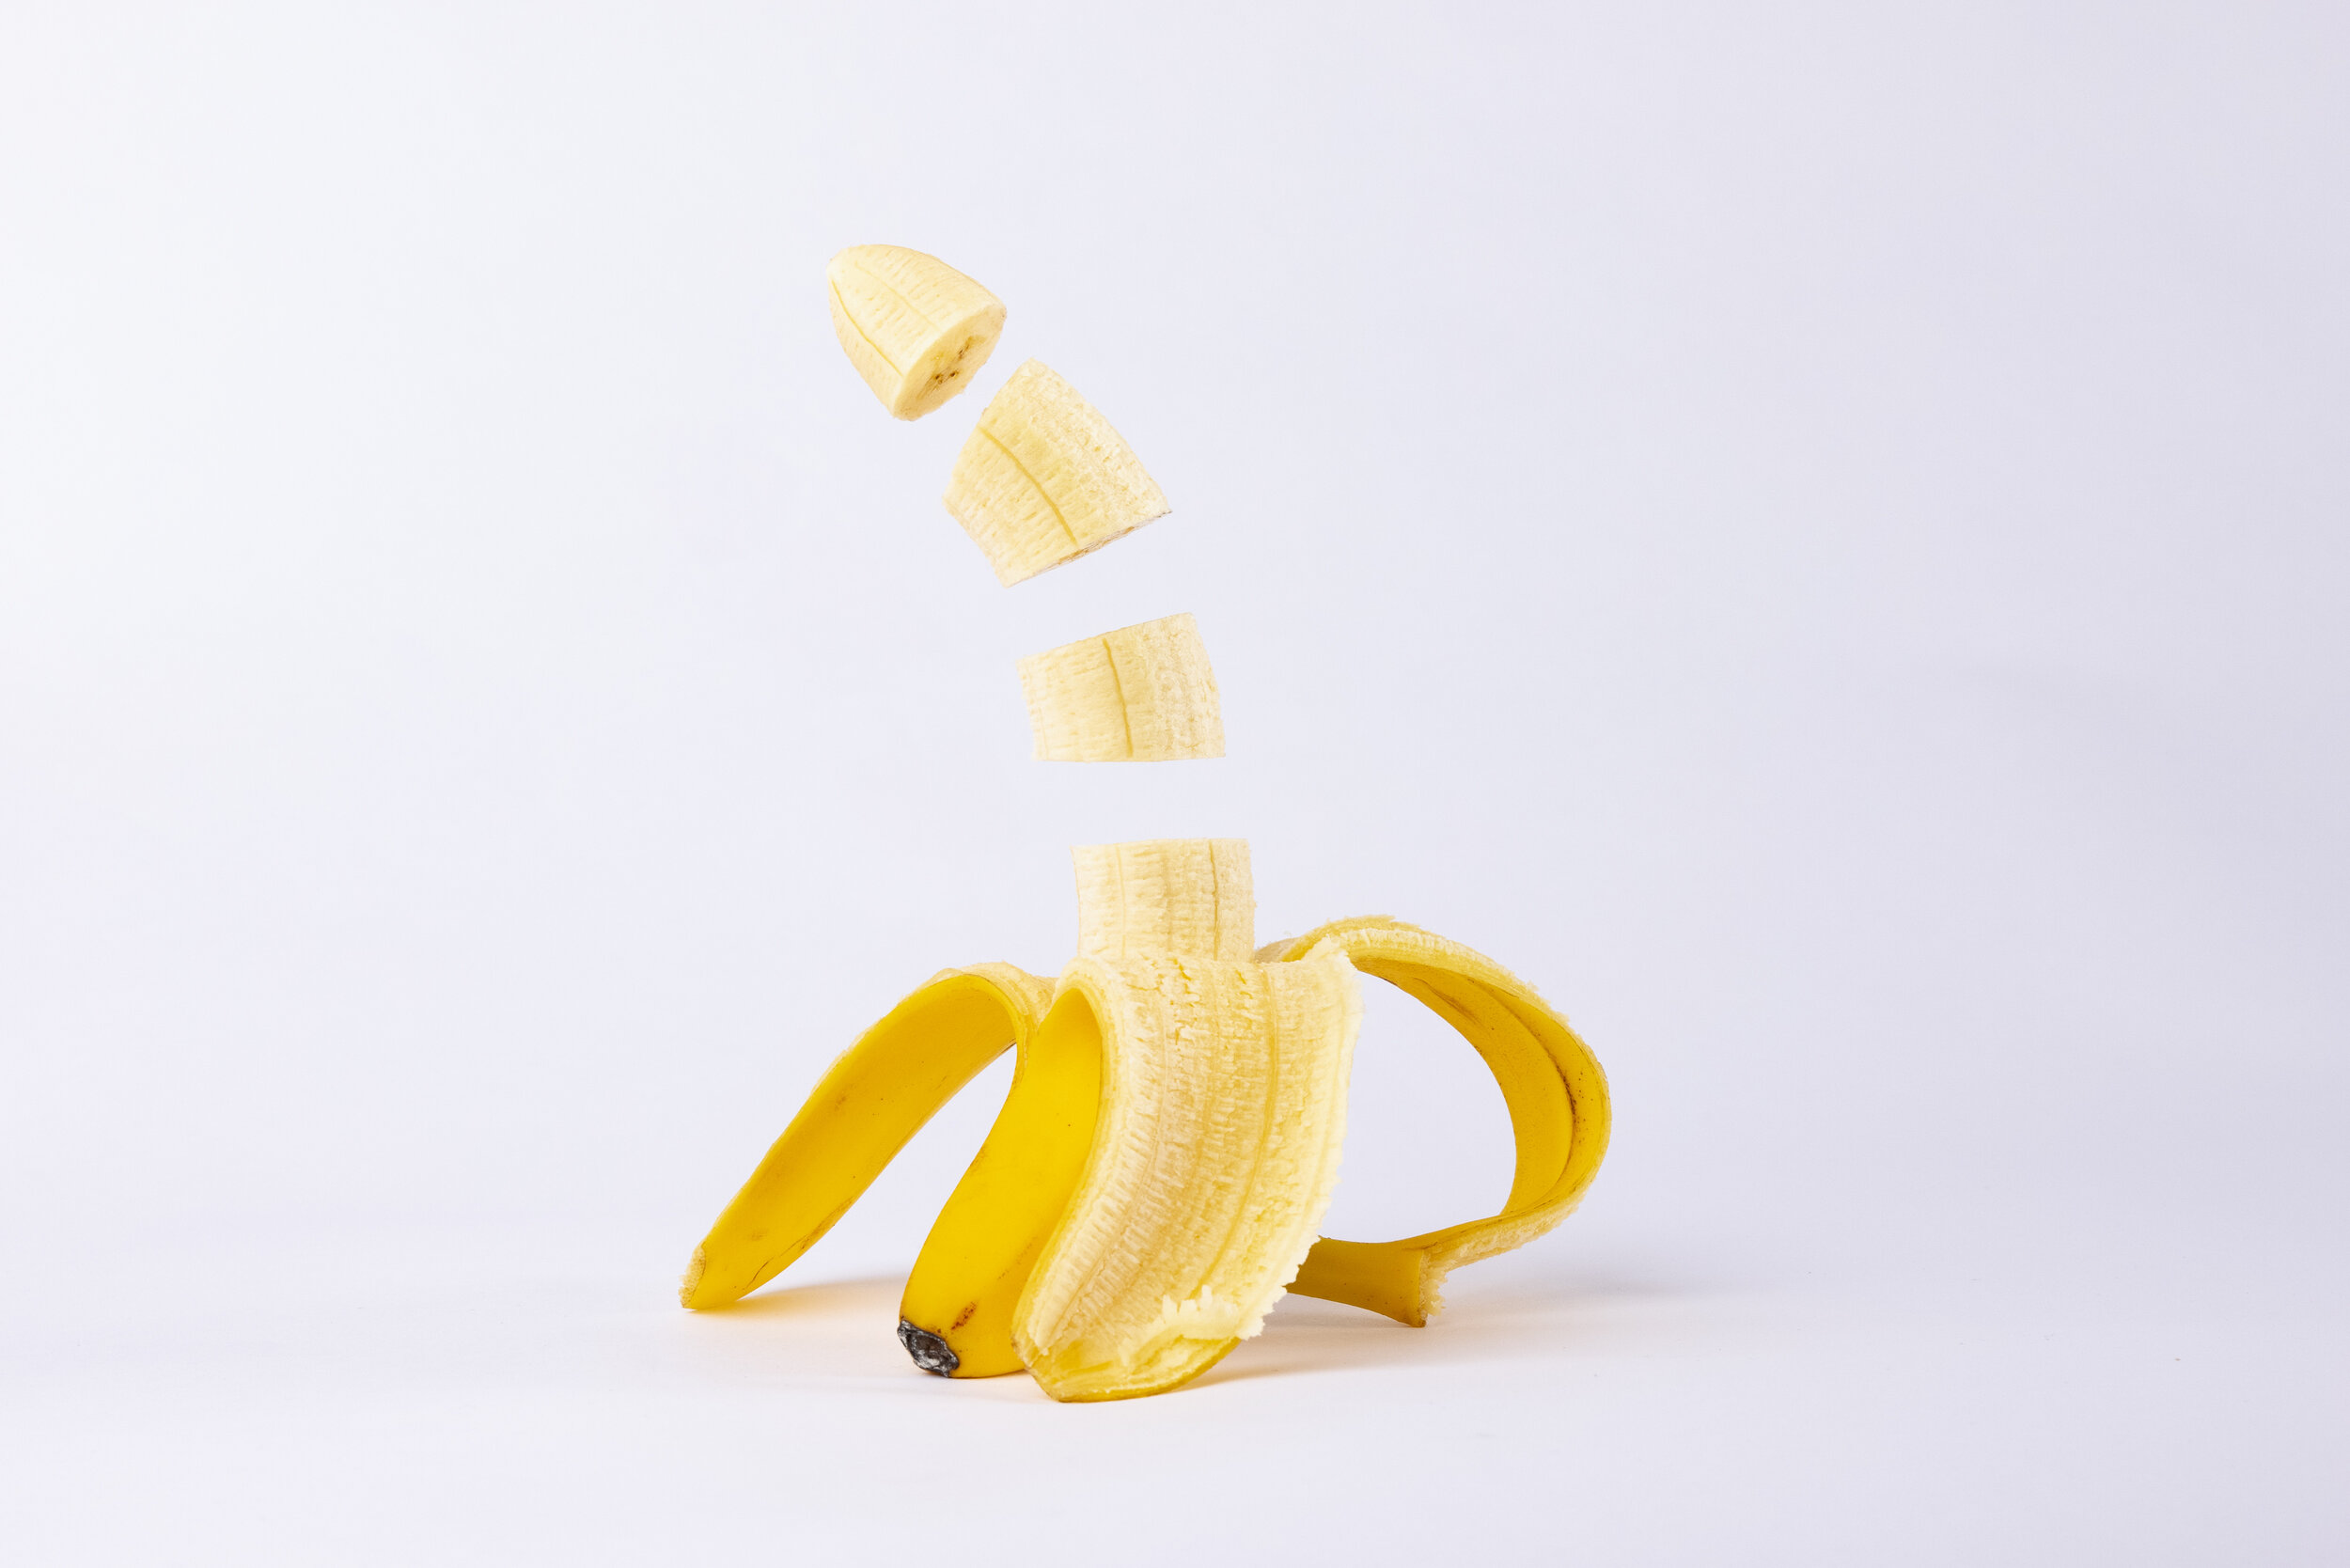
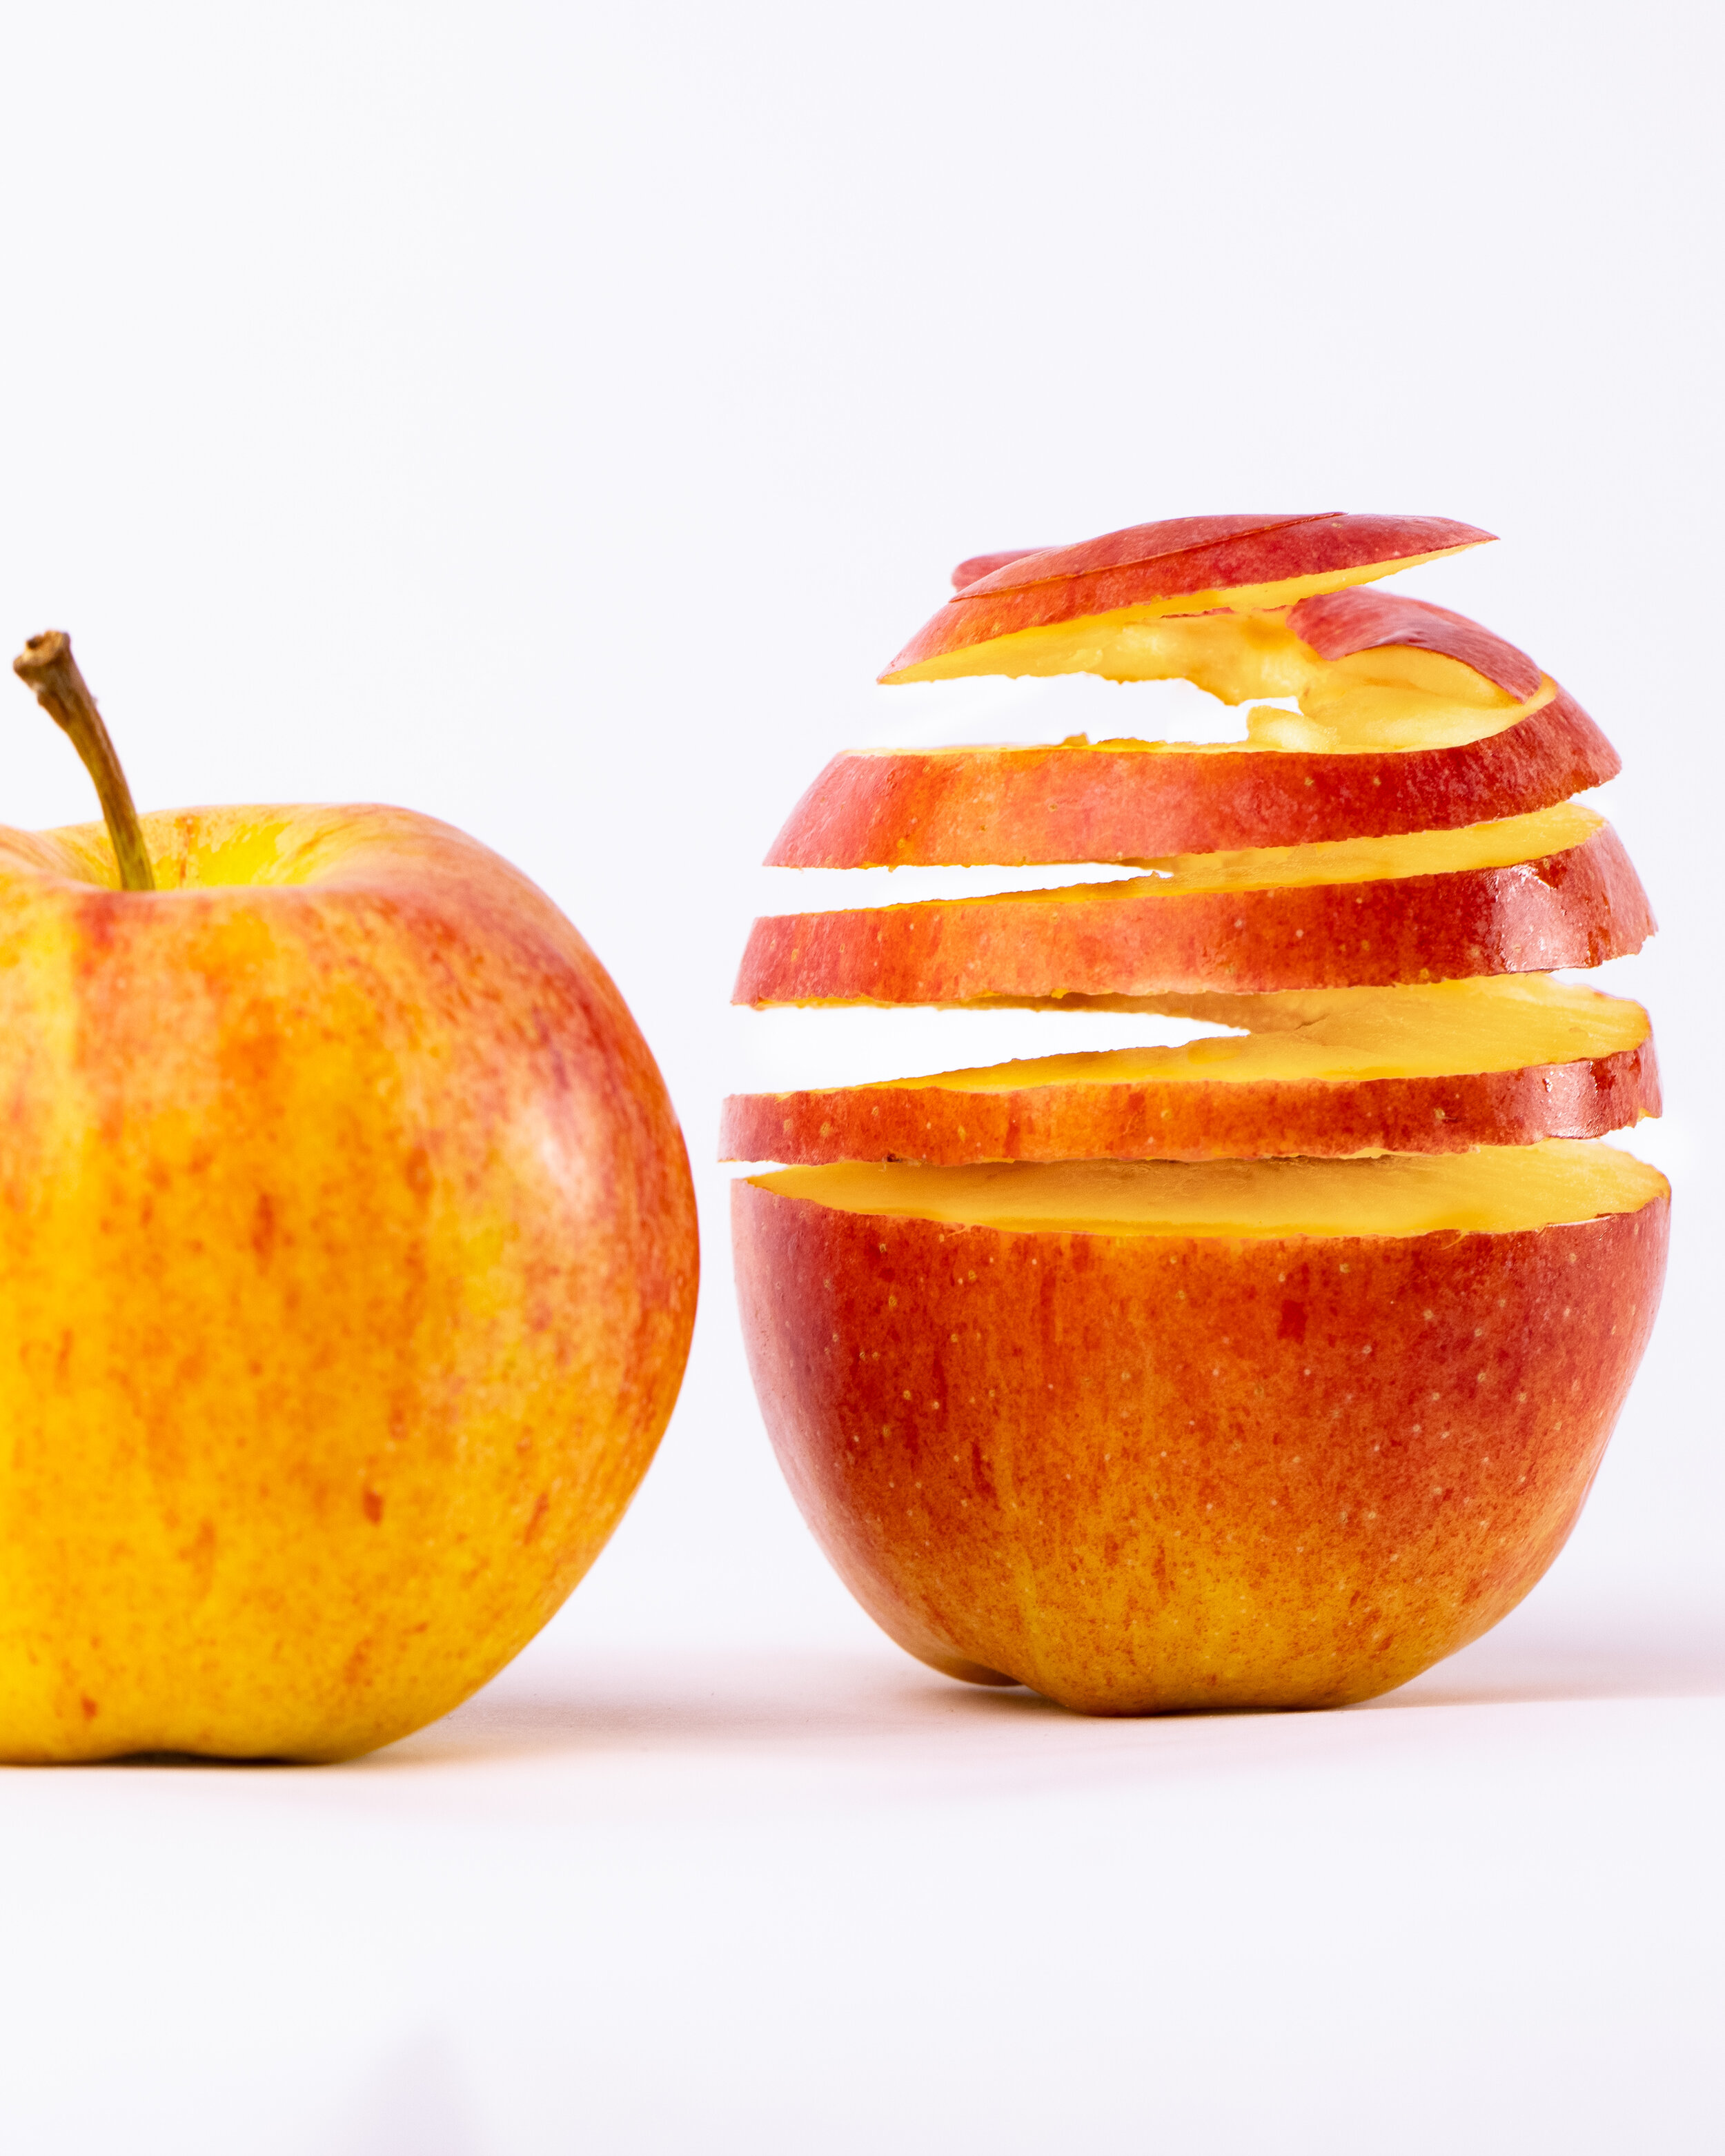
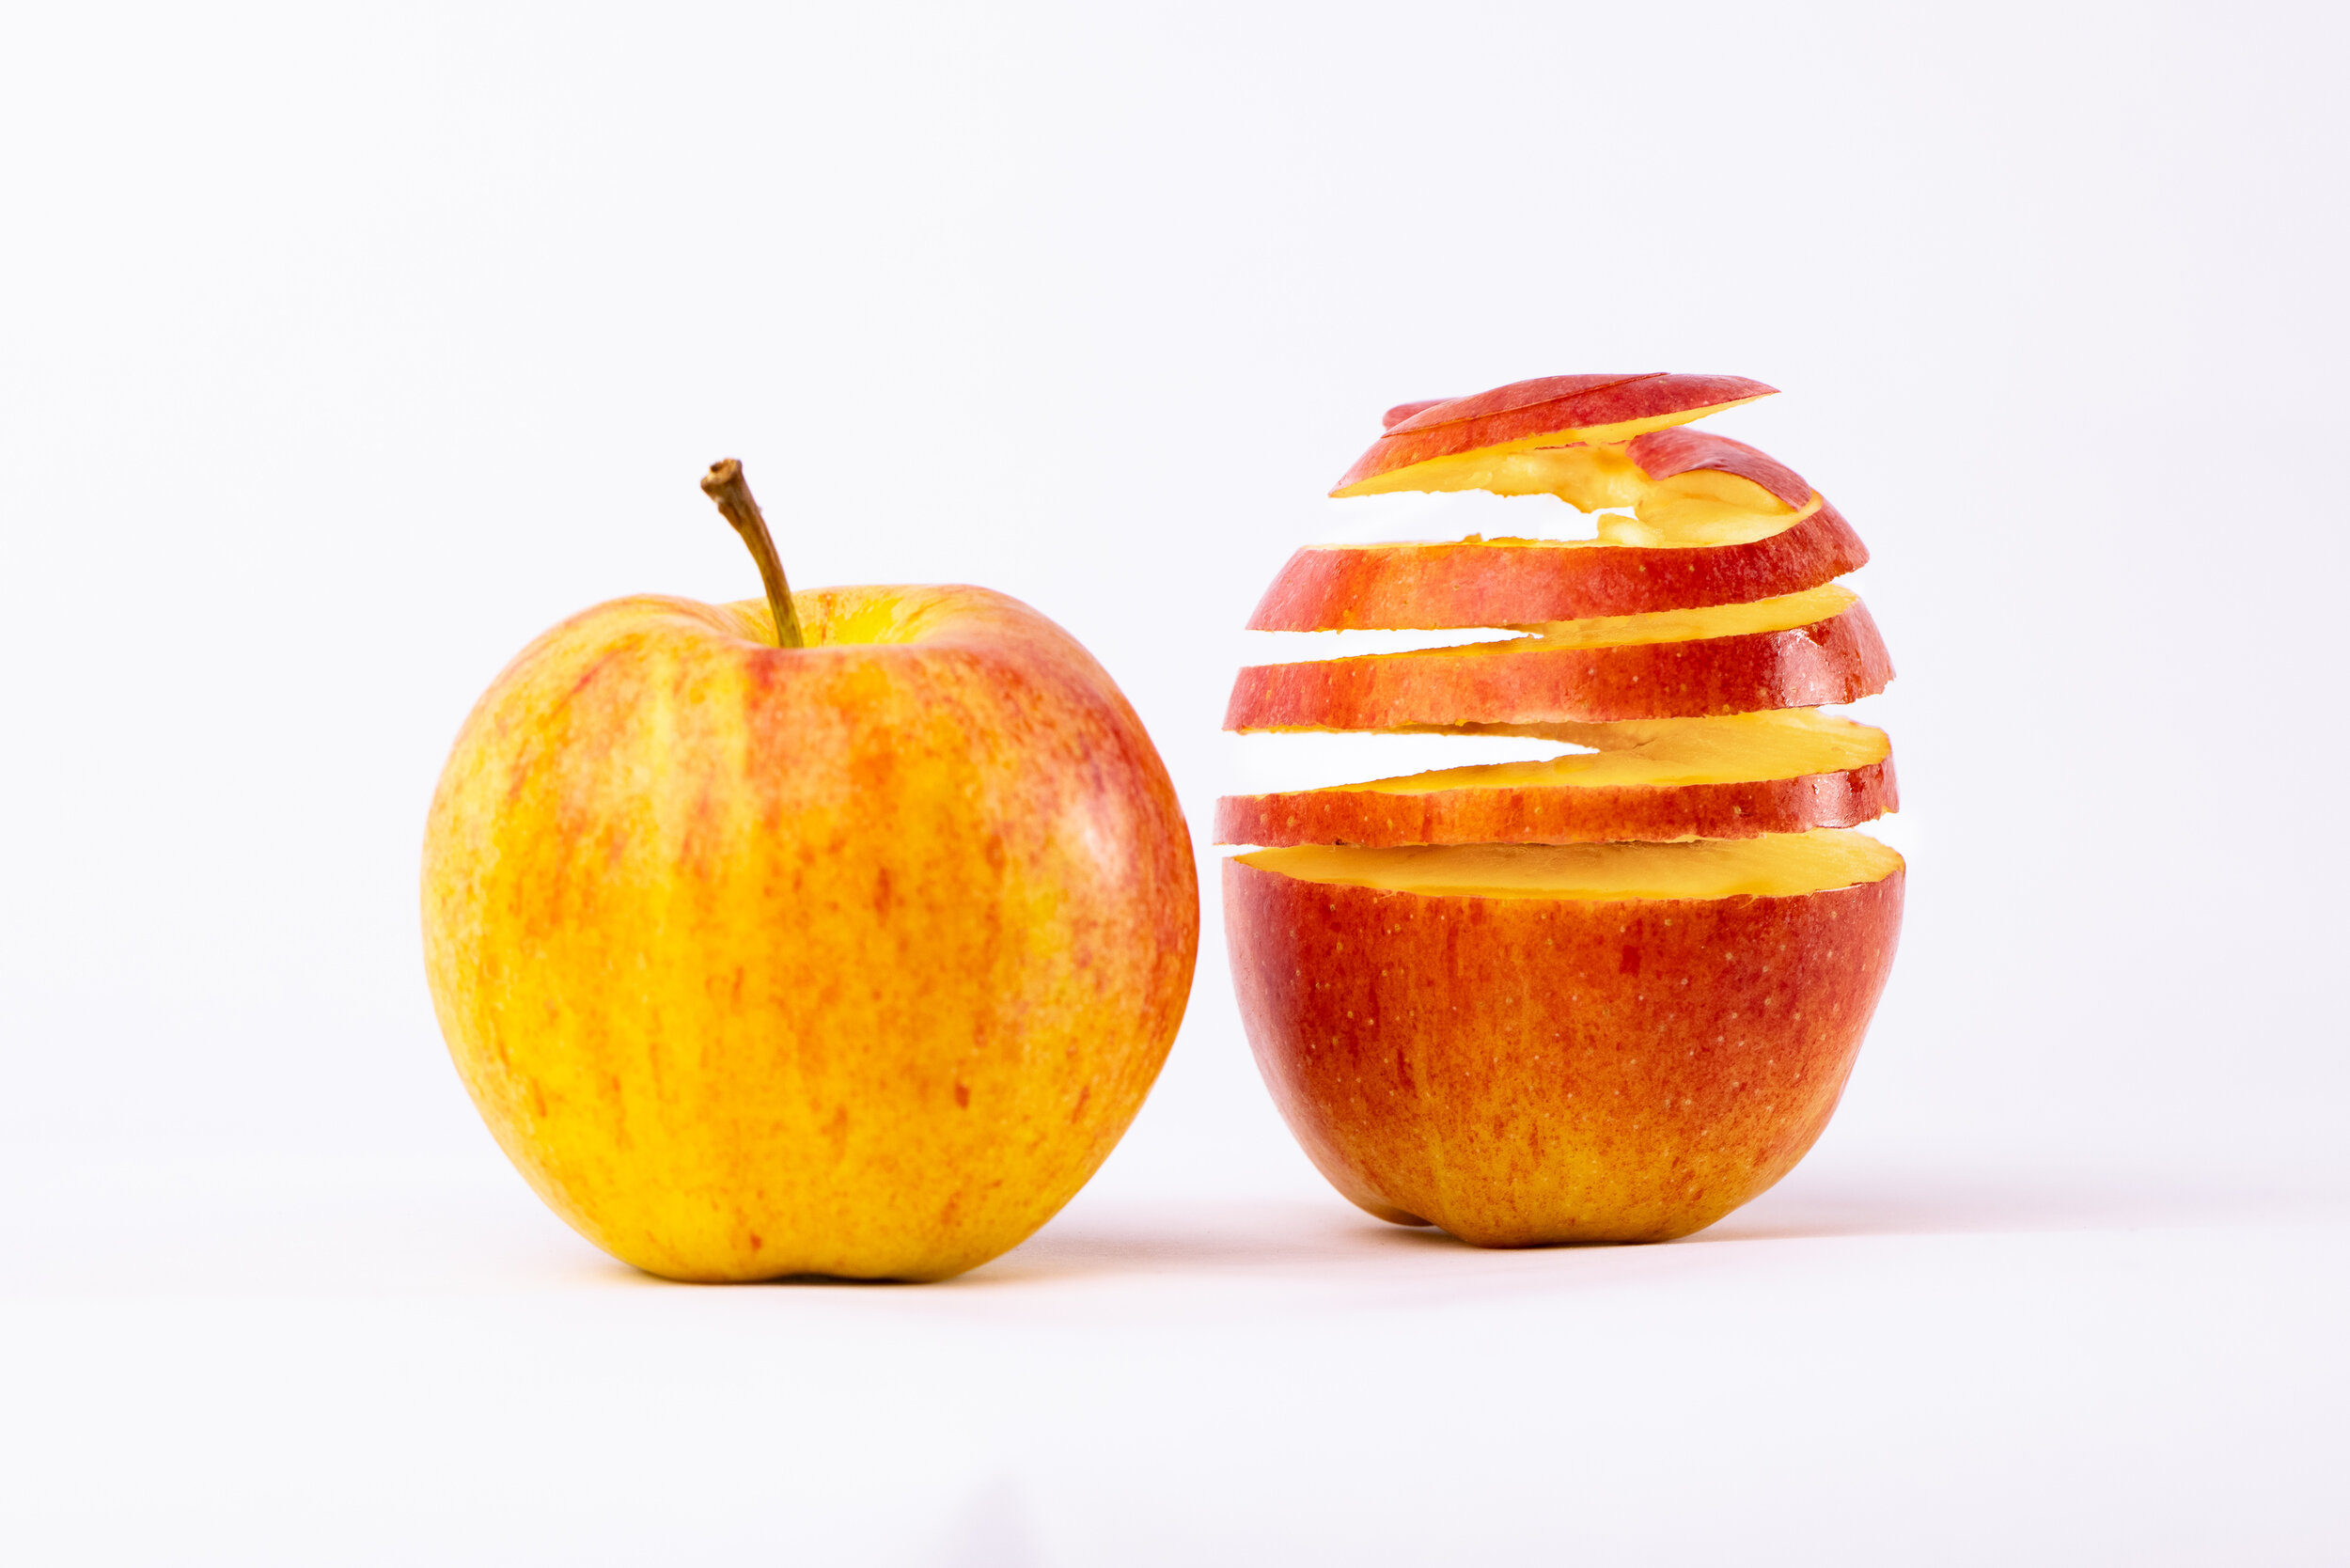
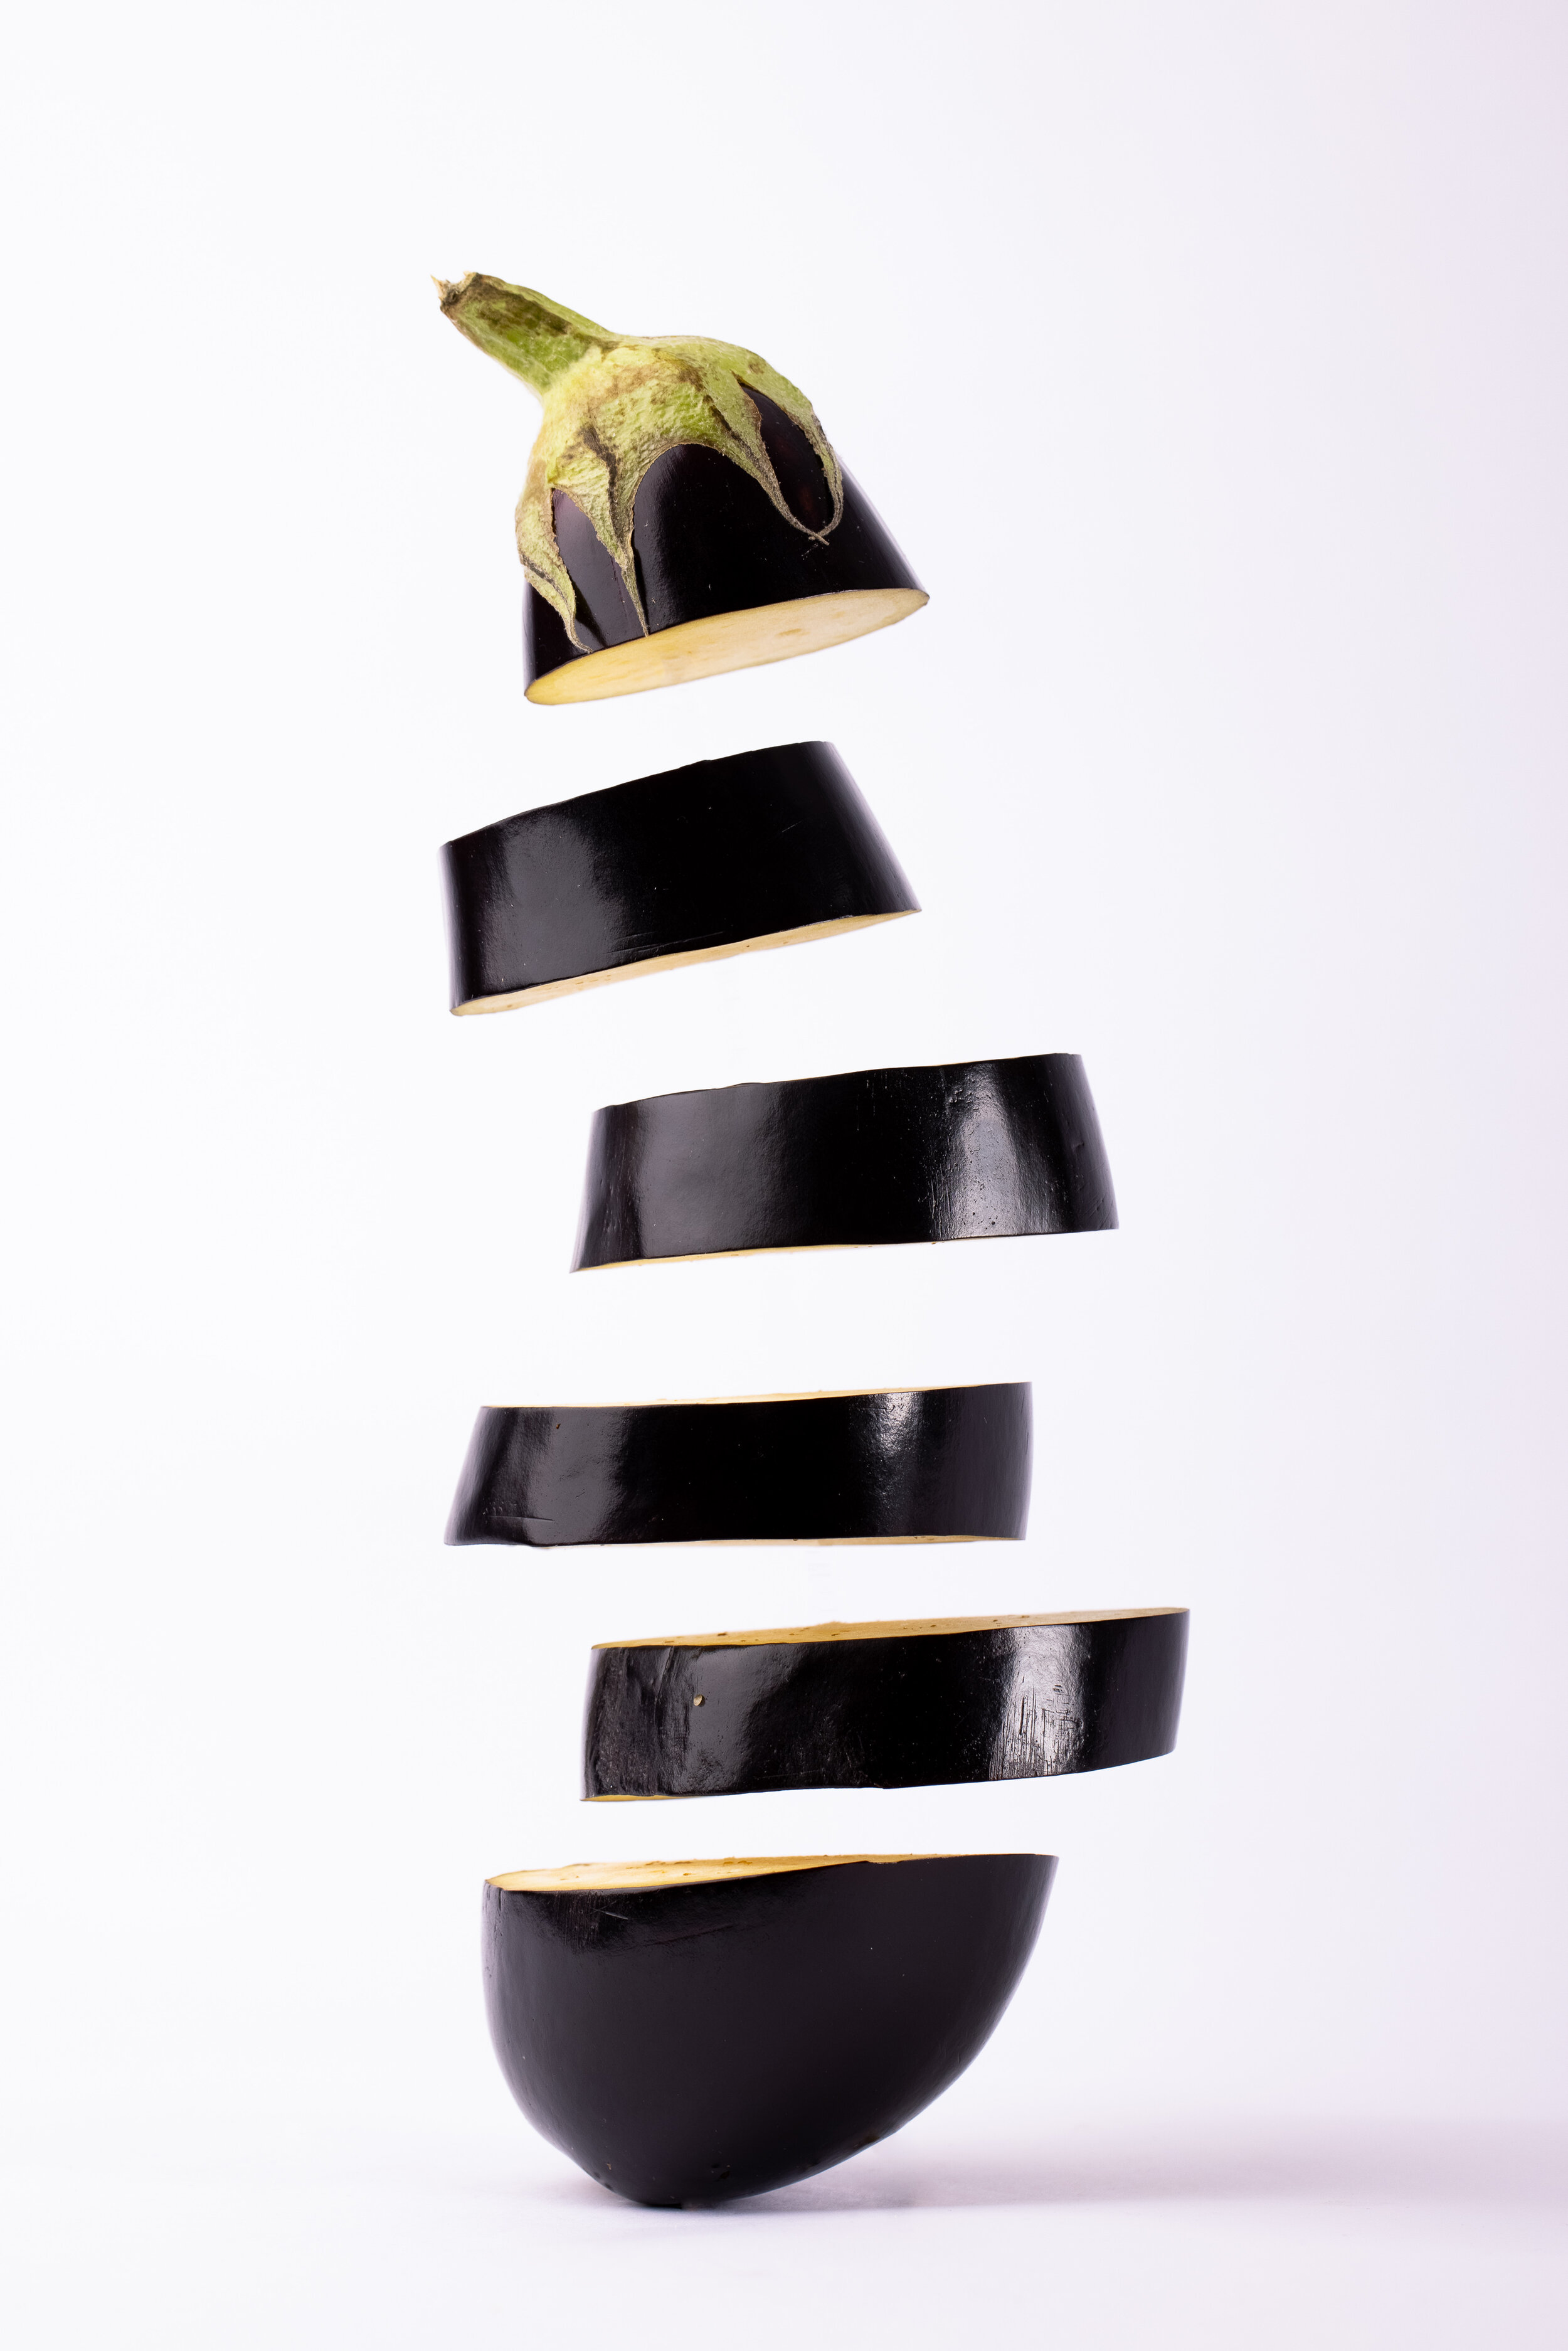
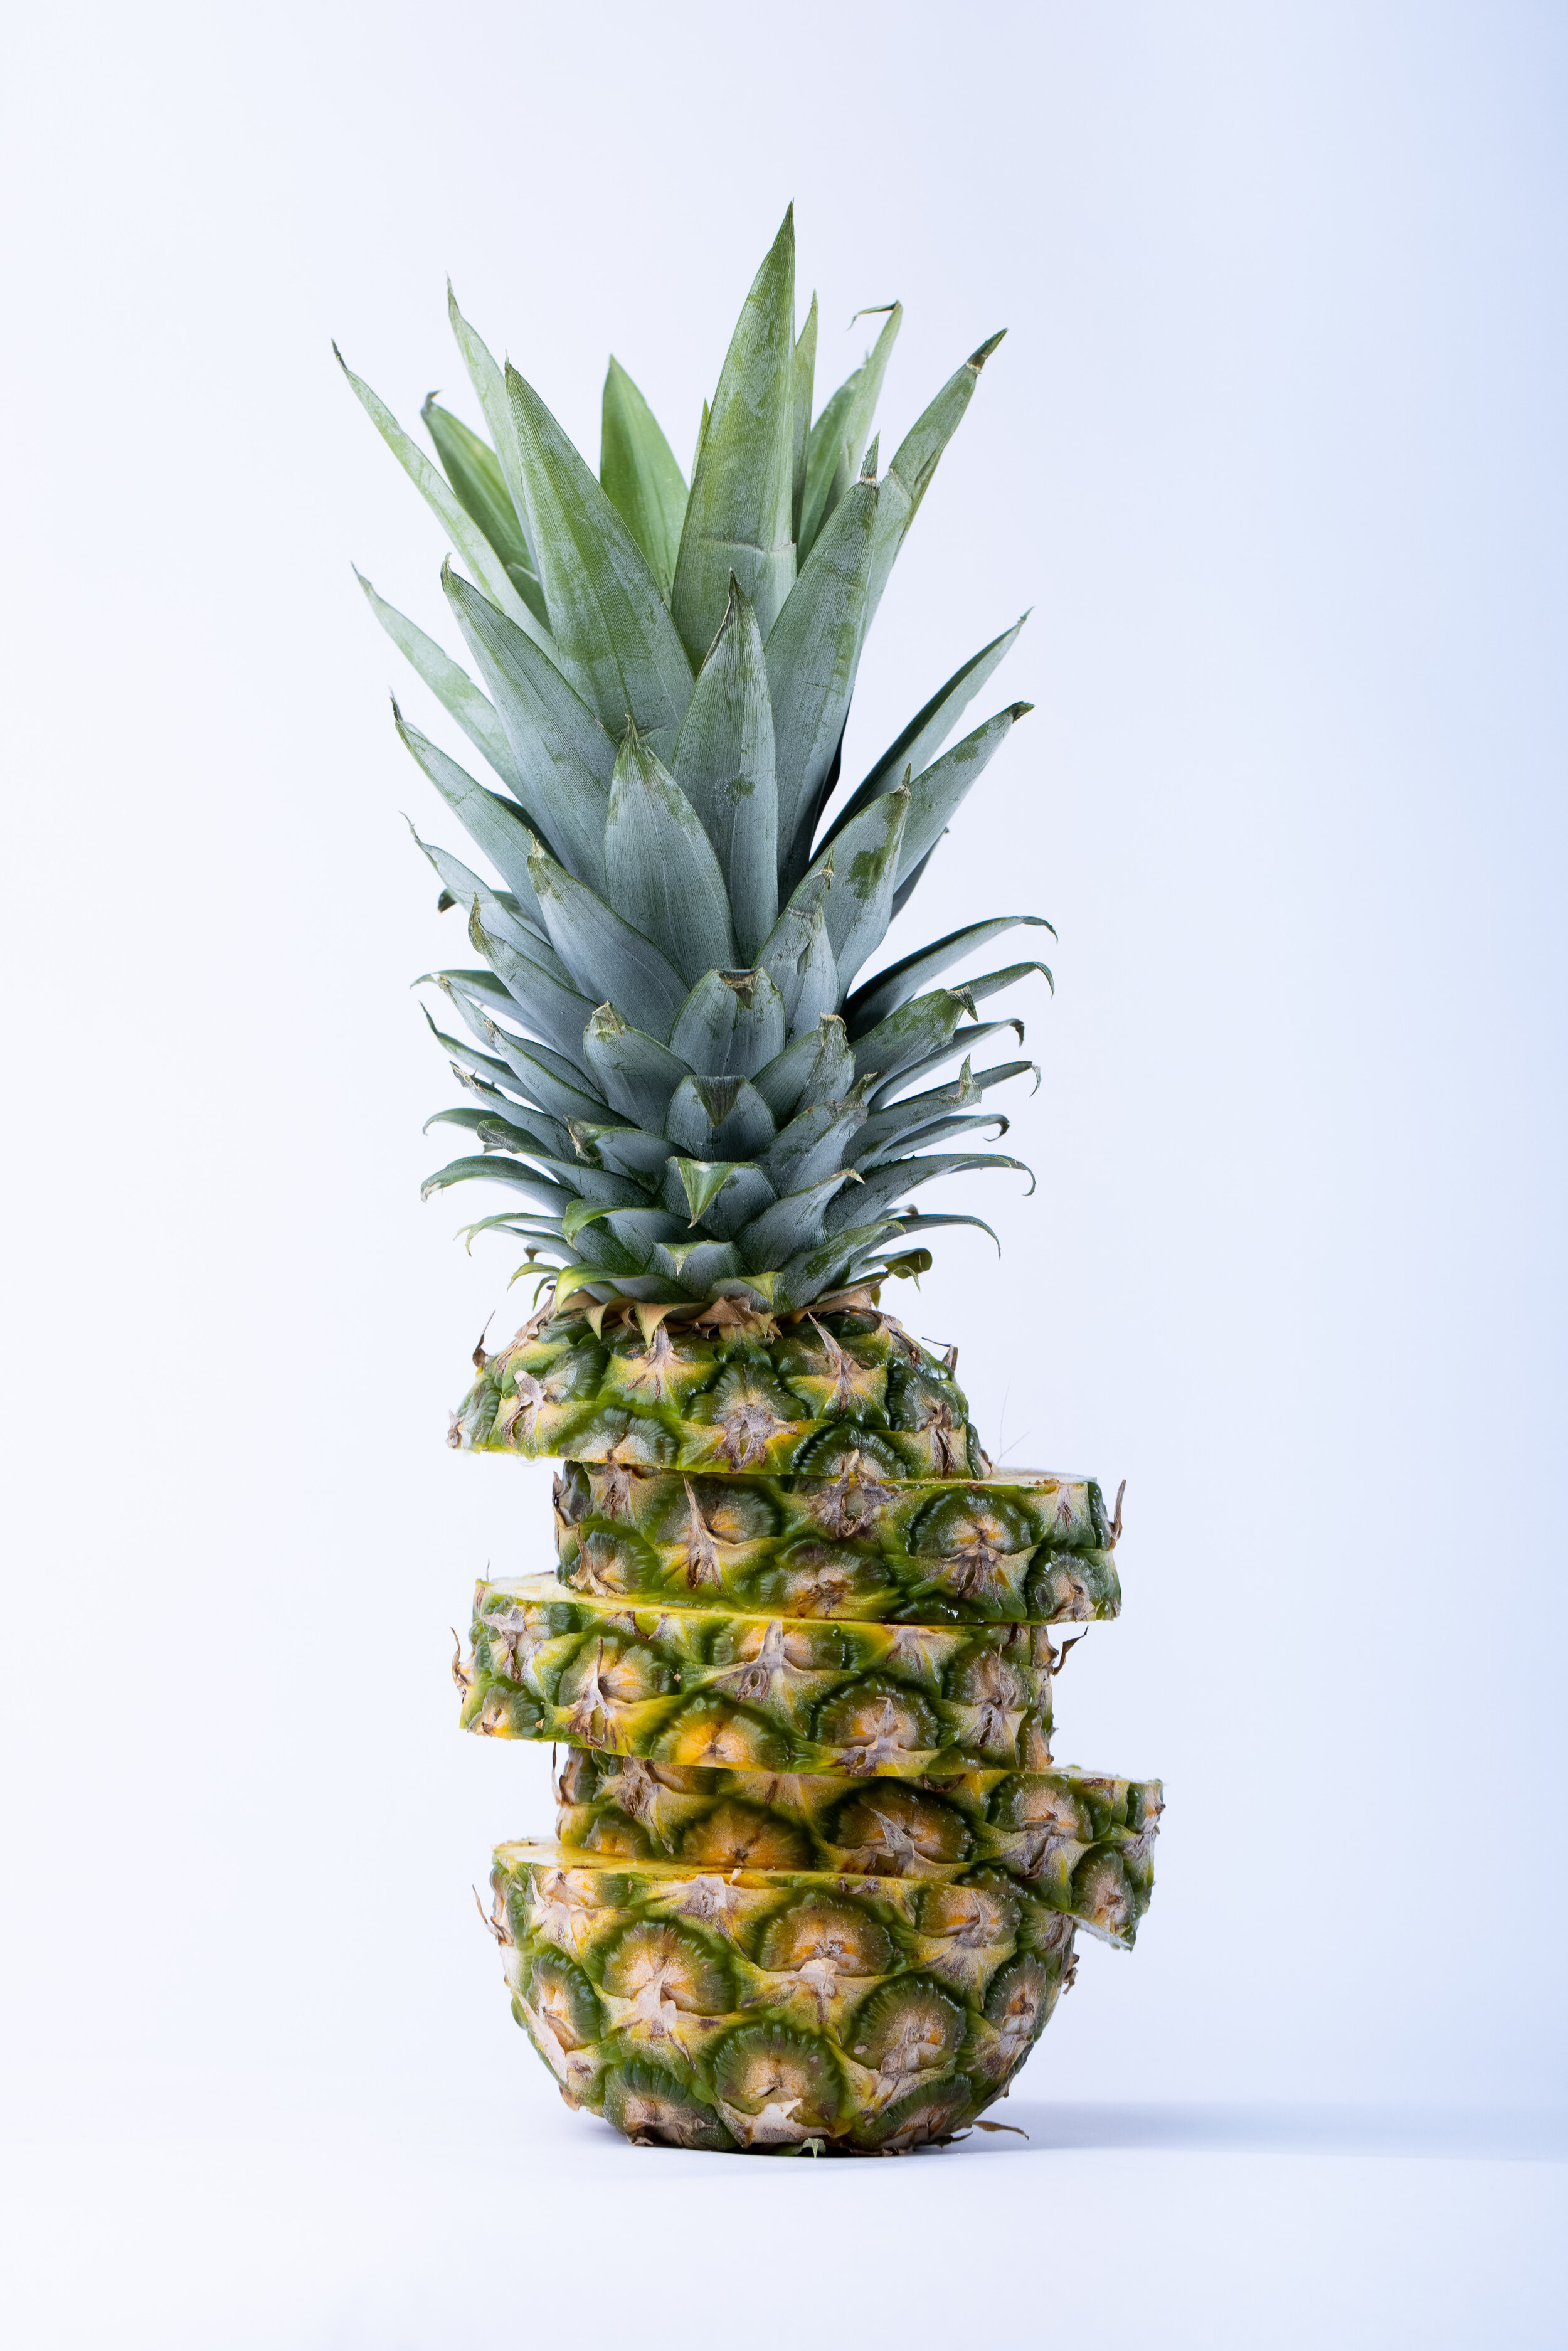
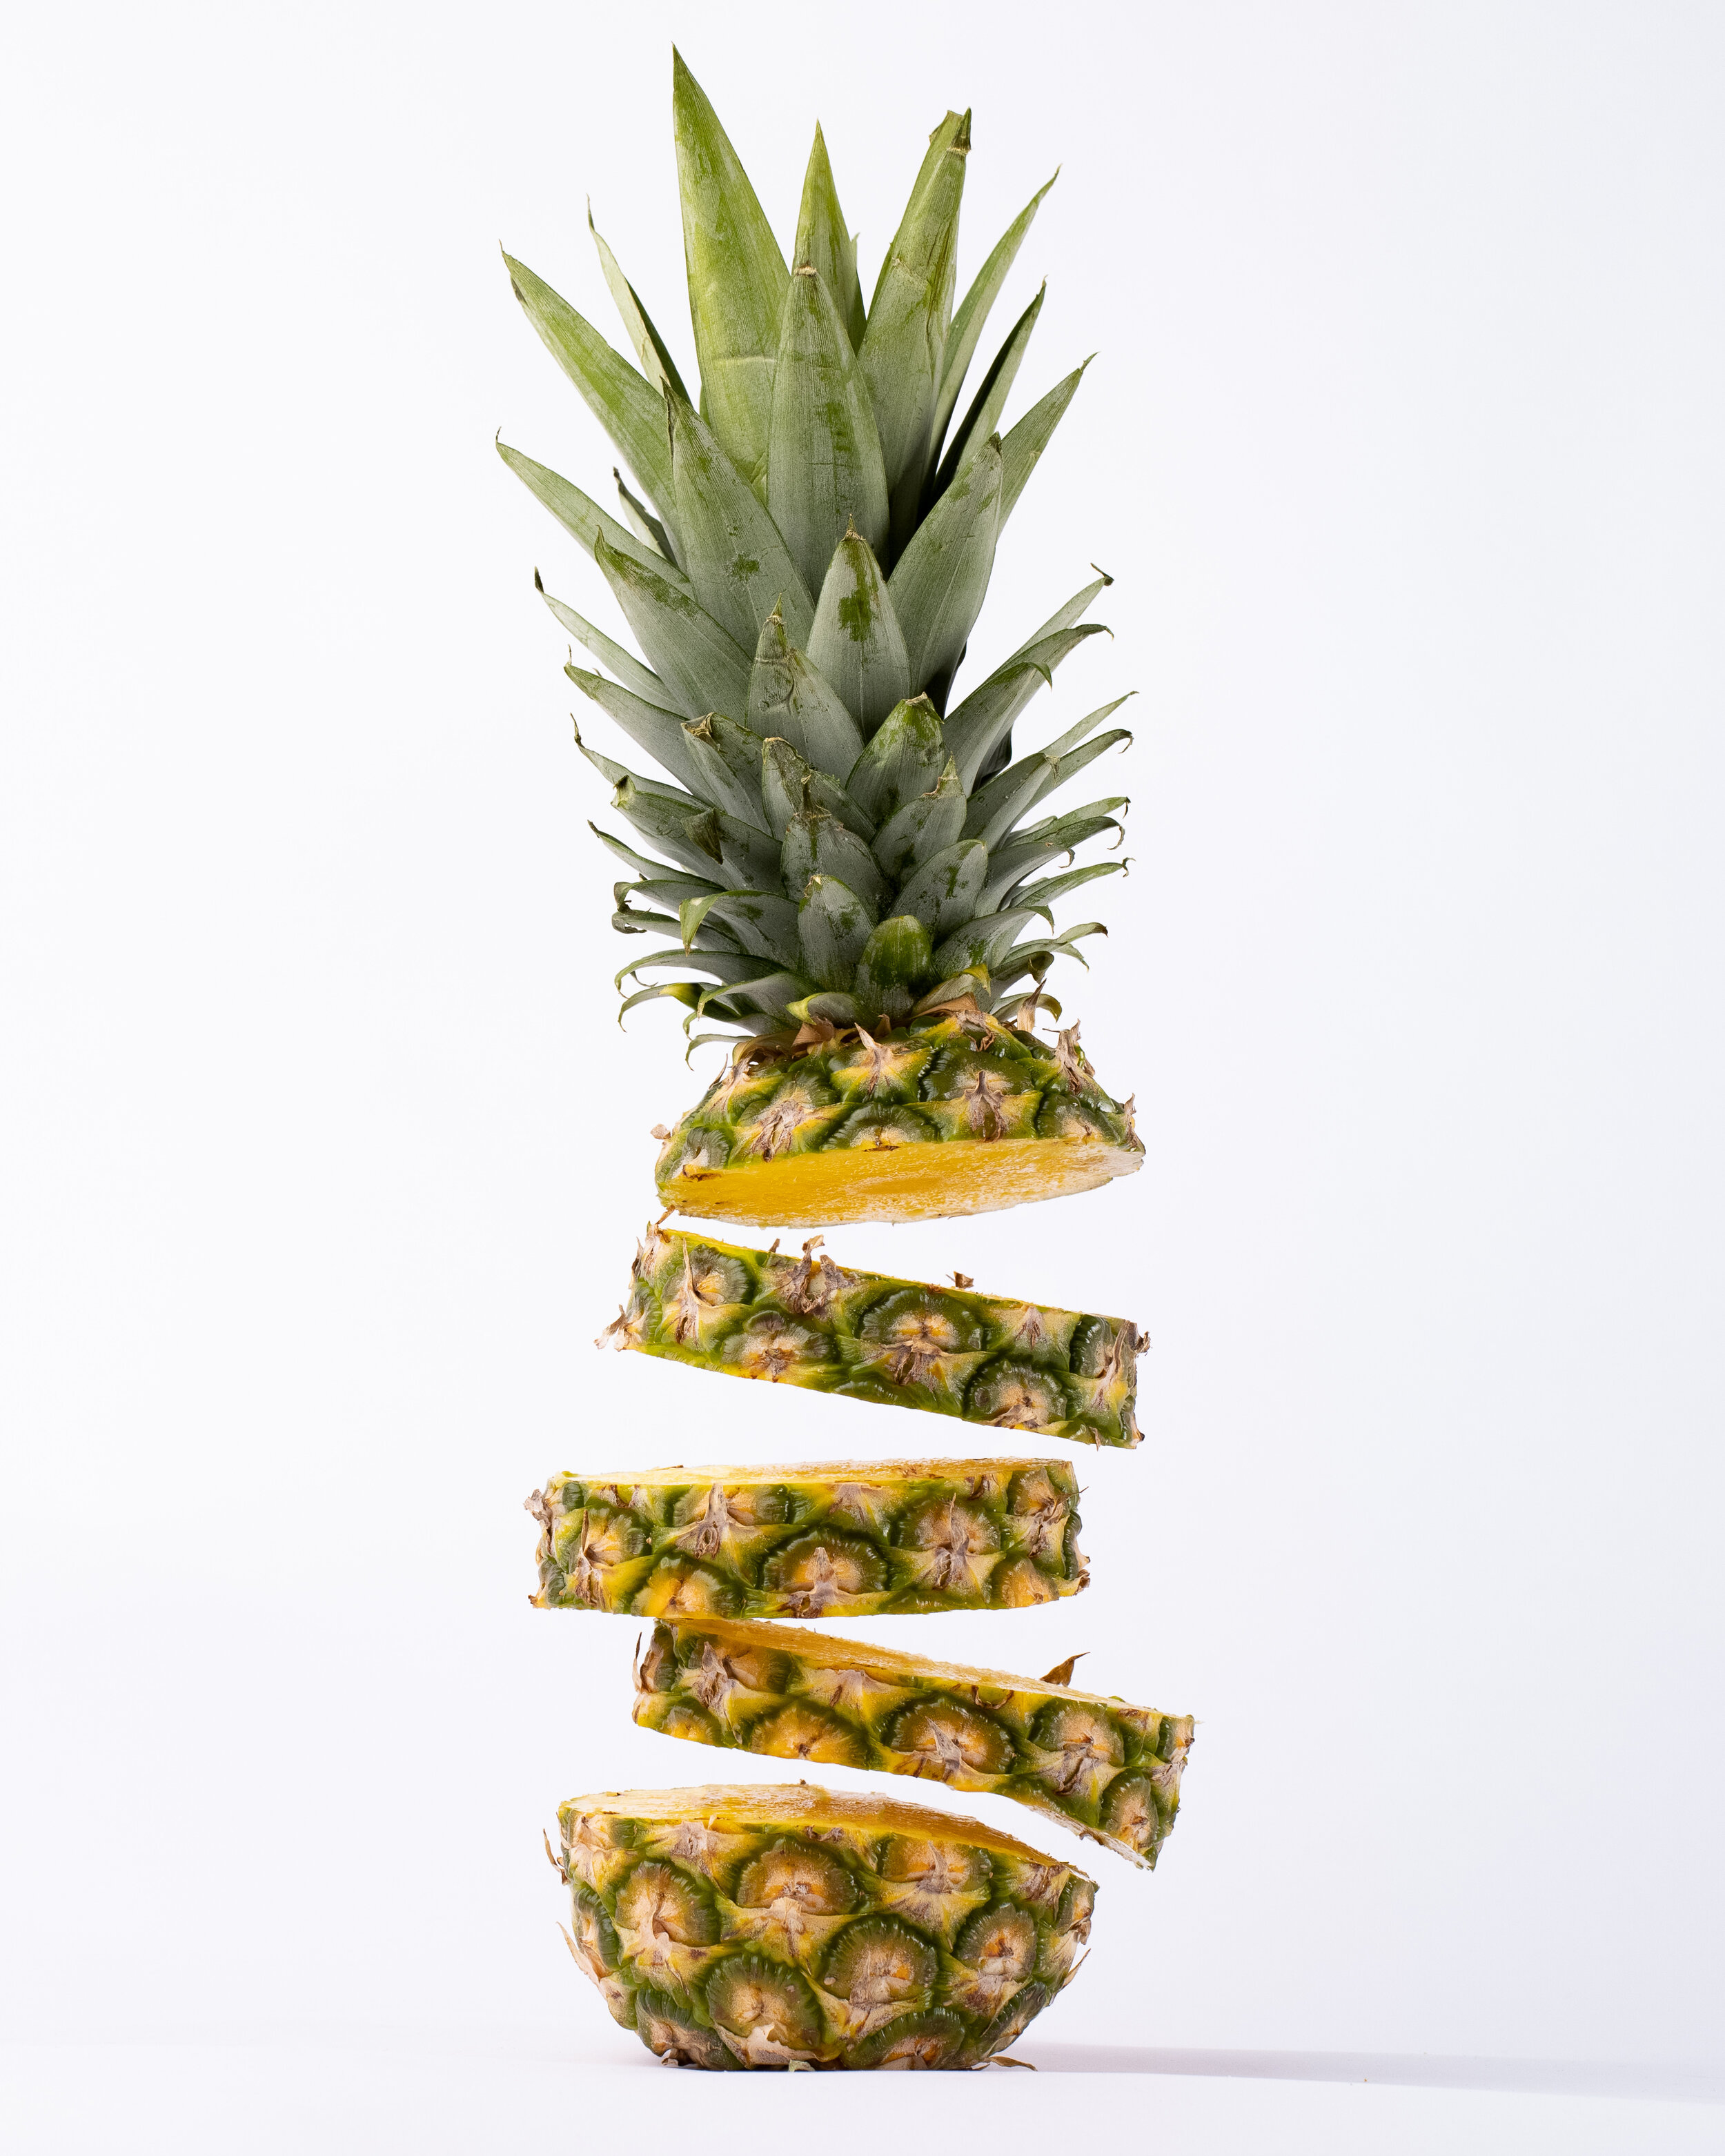
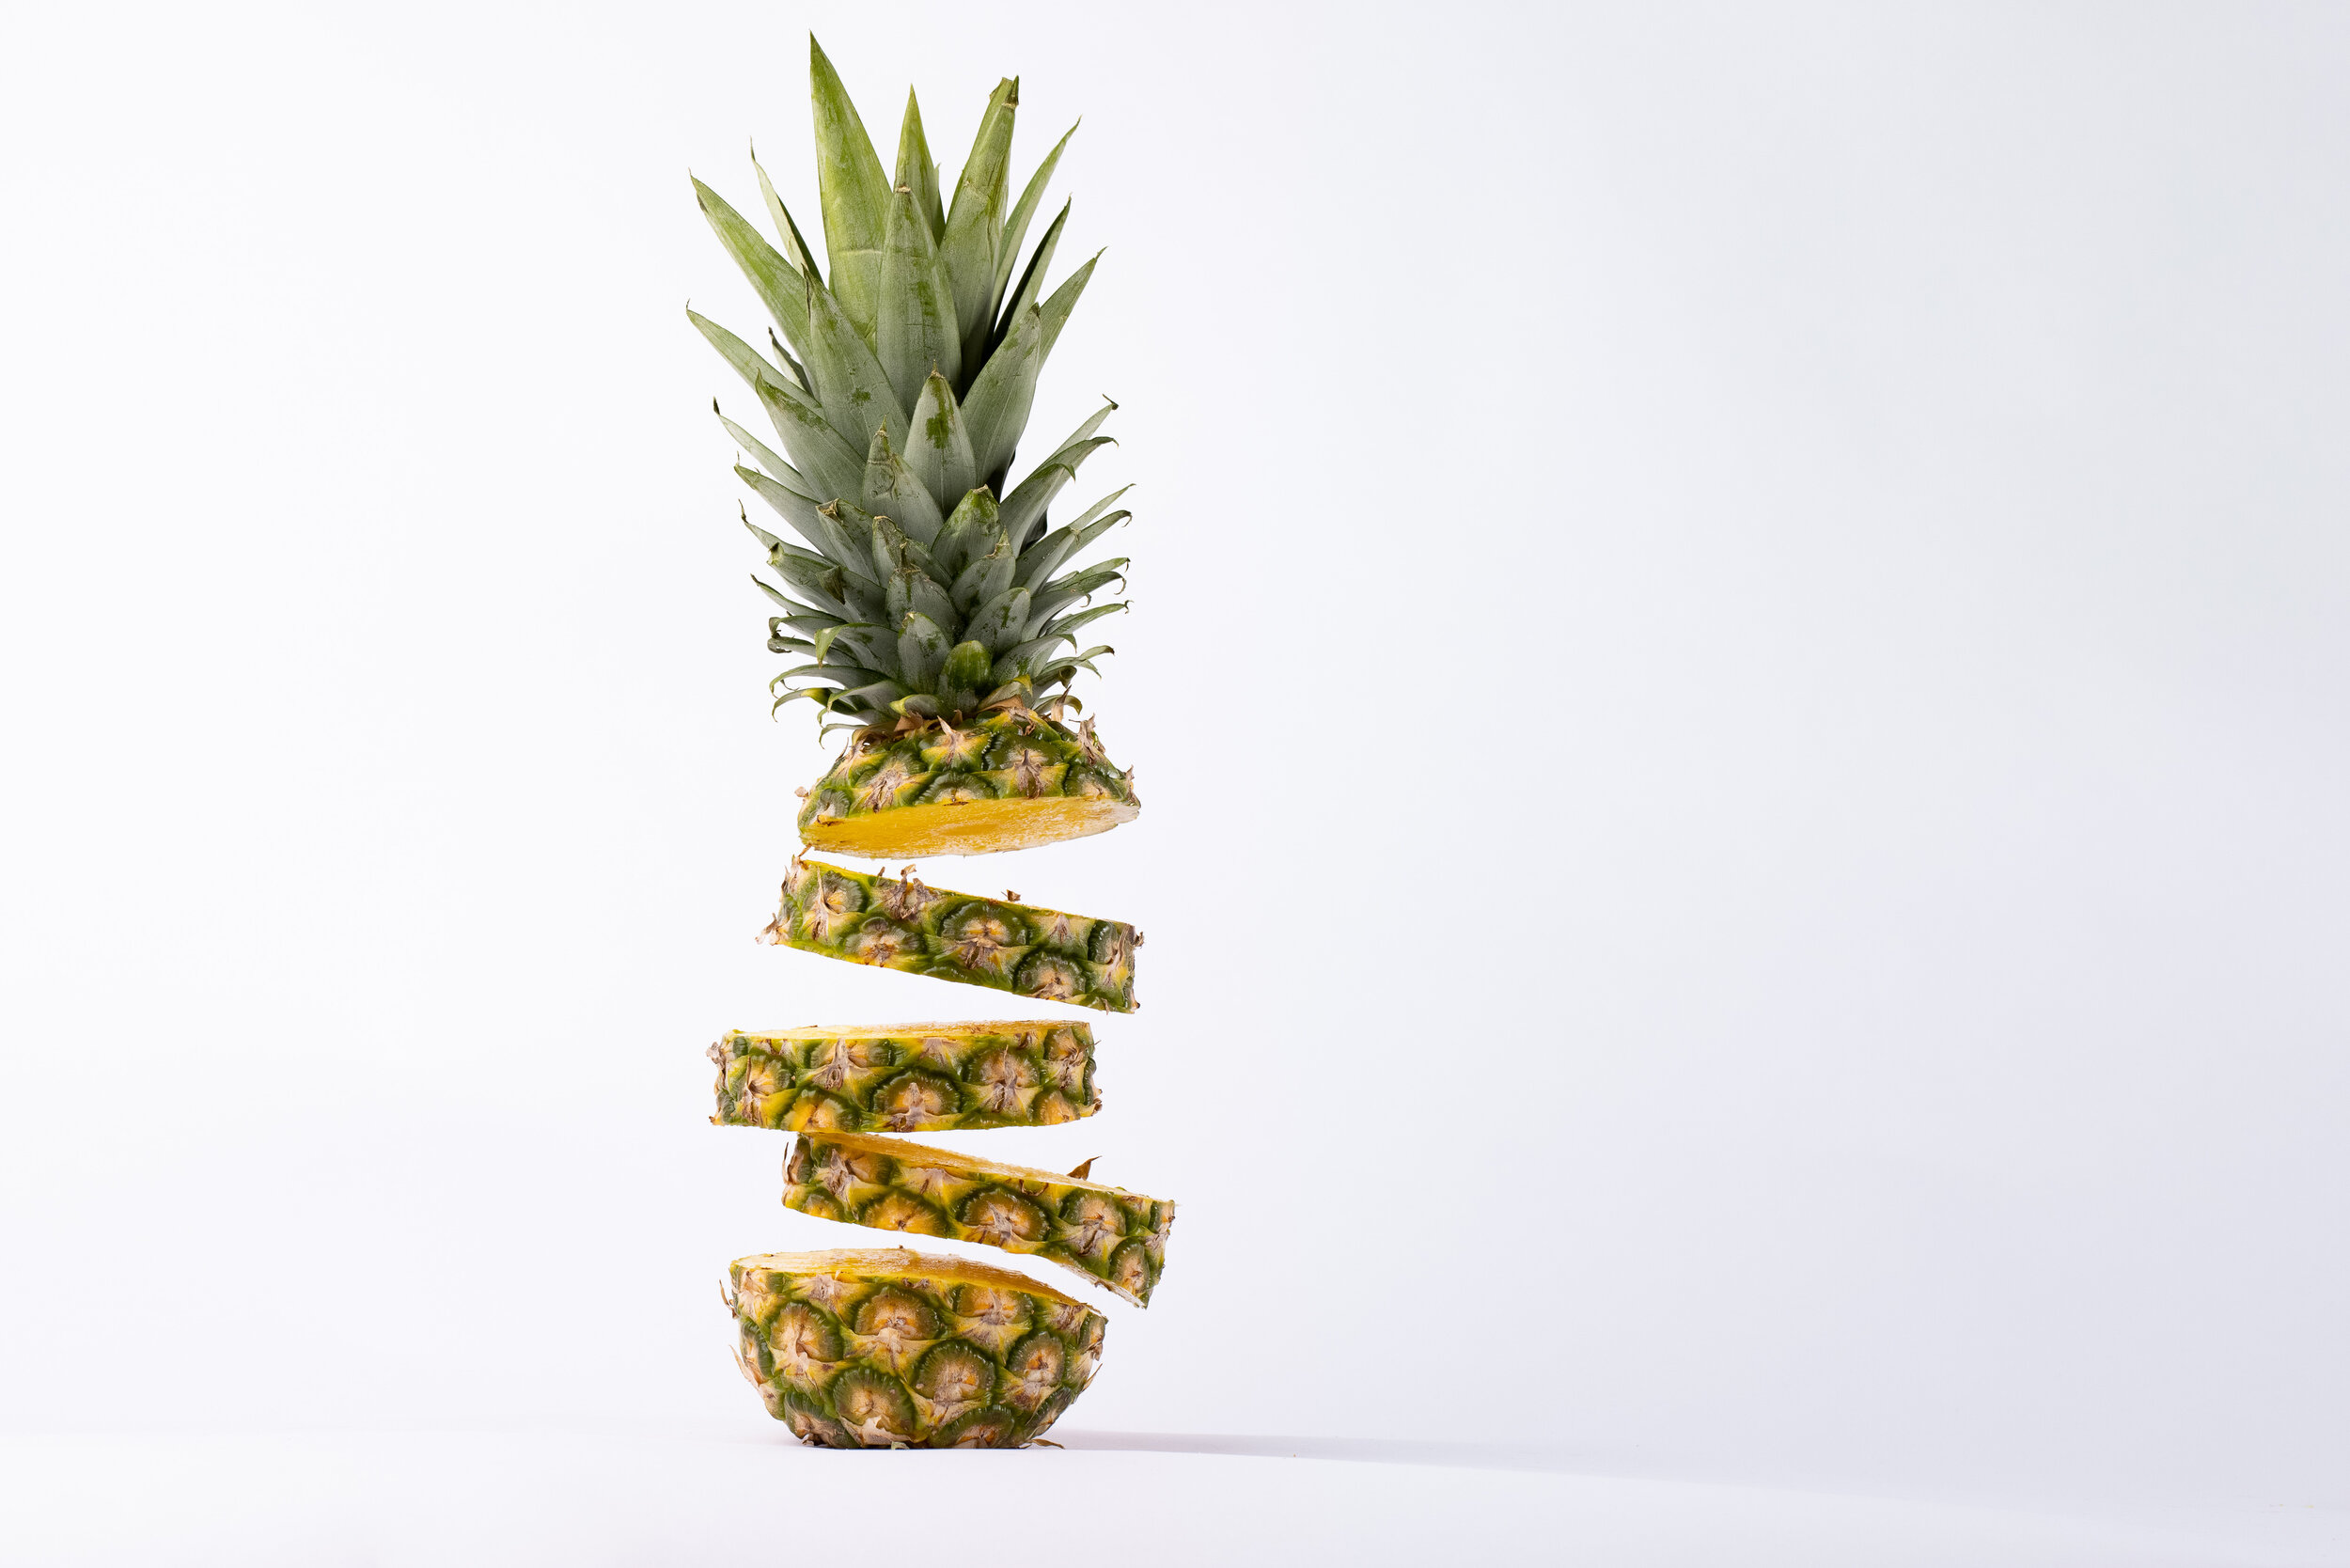
But the real challenge came only now. The fruits should be prepared in such a way that they look spectacular on the picture. We wanted to show this especially with cut fruits. But to make them fly we had to fix them in the air, which turned out harder than expectd. Attaching the fruits from behind so that we have as little effort as possible in Photoshop proved to be an unfavourable solution. So we reassembled the fruits with toothpicks and wooden skewers as we thought fit, in order to retouch the wooden parts later in Photoshop.
To prevent the fruit from looking old and brown, everything had to be done quickly. So we made all light and white balance settings before we started to prepare the fruits. Then it went quickly. Cut the fruits to size, fix them with toothpicks on the styrofoam plate and shoot photos before everything falls into place. Especially the banana hadn't lasted very long until it fell apart.
Links to our other Blog Posts of this series: